June 18, 2023
3 Ways to Convert Slides to Video

Grant

Do you want to turn your slides into a dynamic slideshow or narrated screen recording? Maybe you want to make that presentation of yours a video presentation? If so, this post has you covered. Here are 3 ways to convert your slides to video using Tella.
To start converting slides to video, all you need is a presentation made with one of the following programs:
Microsoft PowerPoint
Apple Keynote
Google Slides
You can also use a PDF slide deck or a set of images.
Using a microphone and webcam is optional, but highly recommended. Using them will make your video presentation a lot more interesting for viewers.
We'll be using Tella for all three options, so it's worth creating an account before you start. Visit tella.tv to sign up - it's completely free.
1. Screen recording
This approach explains how to do a screen recording of your slides. You'll also be able to record your audio and camera so that you can present your slides.
Preparation
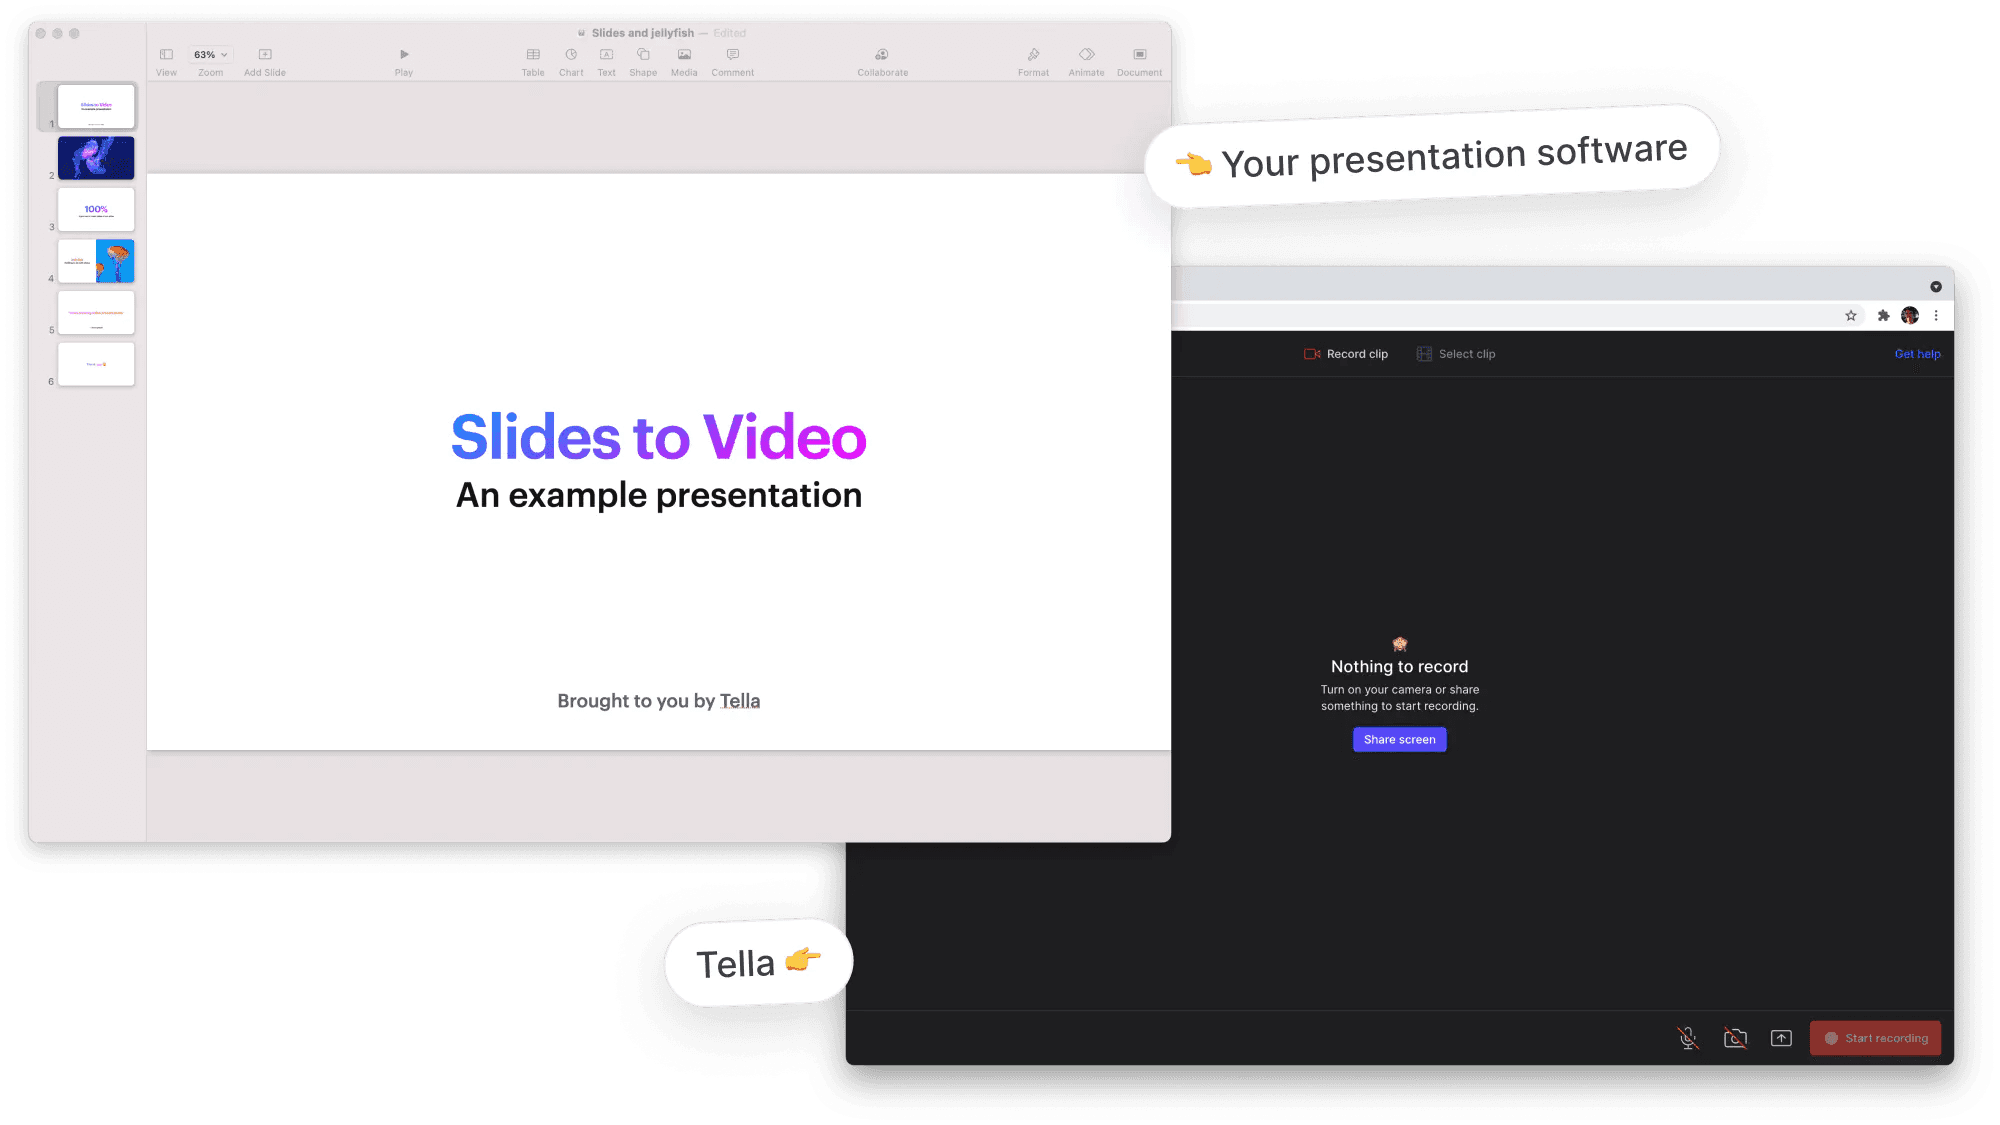
Arrange your desktop so that you've got your slides ready and Tella open in a web browser.
If you're using a browser-based slides tool like Google Slides or Office 365 then you can have your slides on one tab and Tella on another.
If you're using a desktop-based slides tool then make sure your slides and Tella are easily accessible in separate windows (separate screens also works).
Recording setup
Now you can head over to Tella and set up you recording.
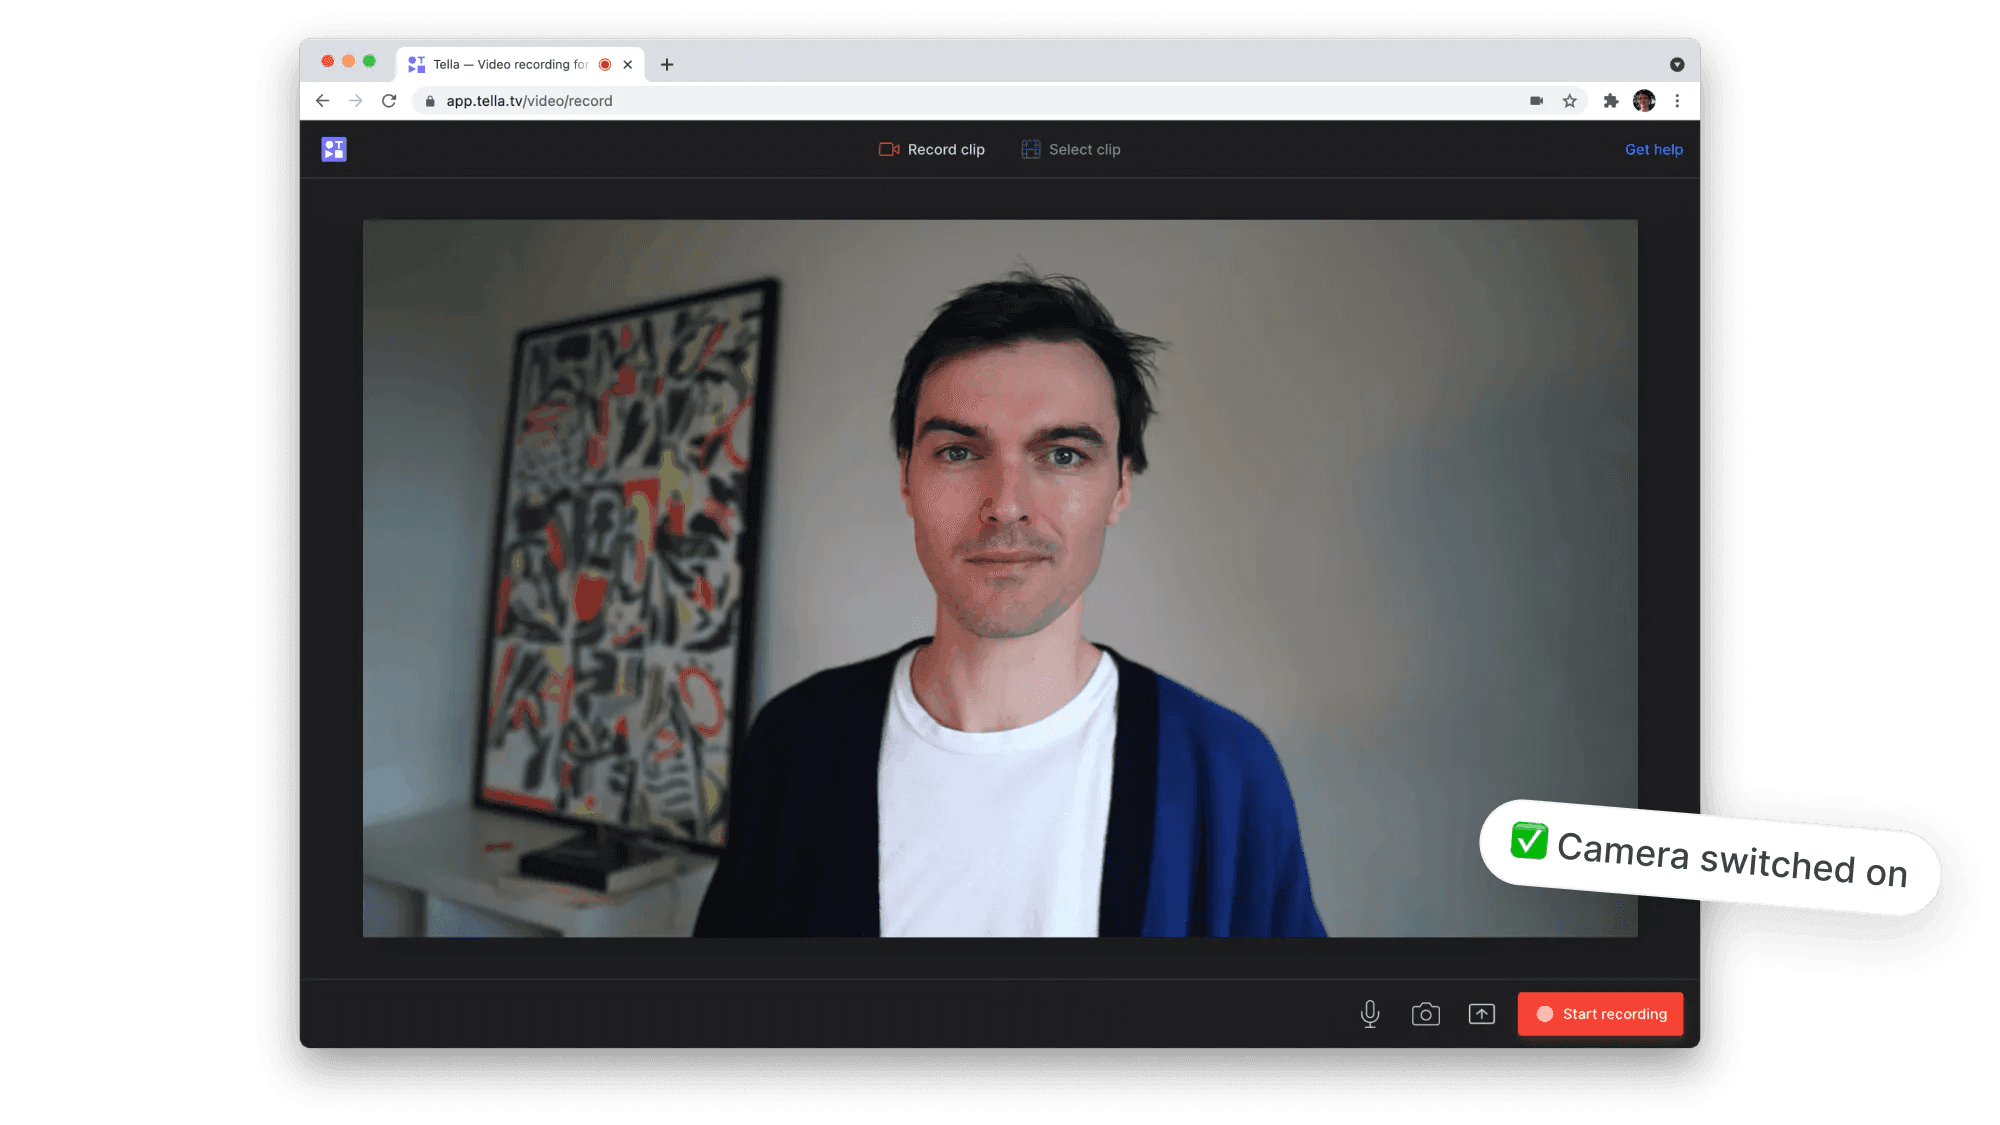
🔔 Follow the in-app prompts for setting up your microphone and camera. If you have any trouble with this, check out this help article.
From the share icon in the bottom right of the Tella recorder, select "Share screen". This will open a browser dialog where you can choose which kind of screen recording you want to do.
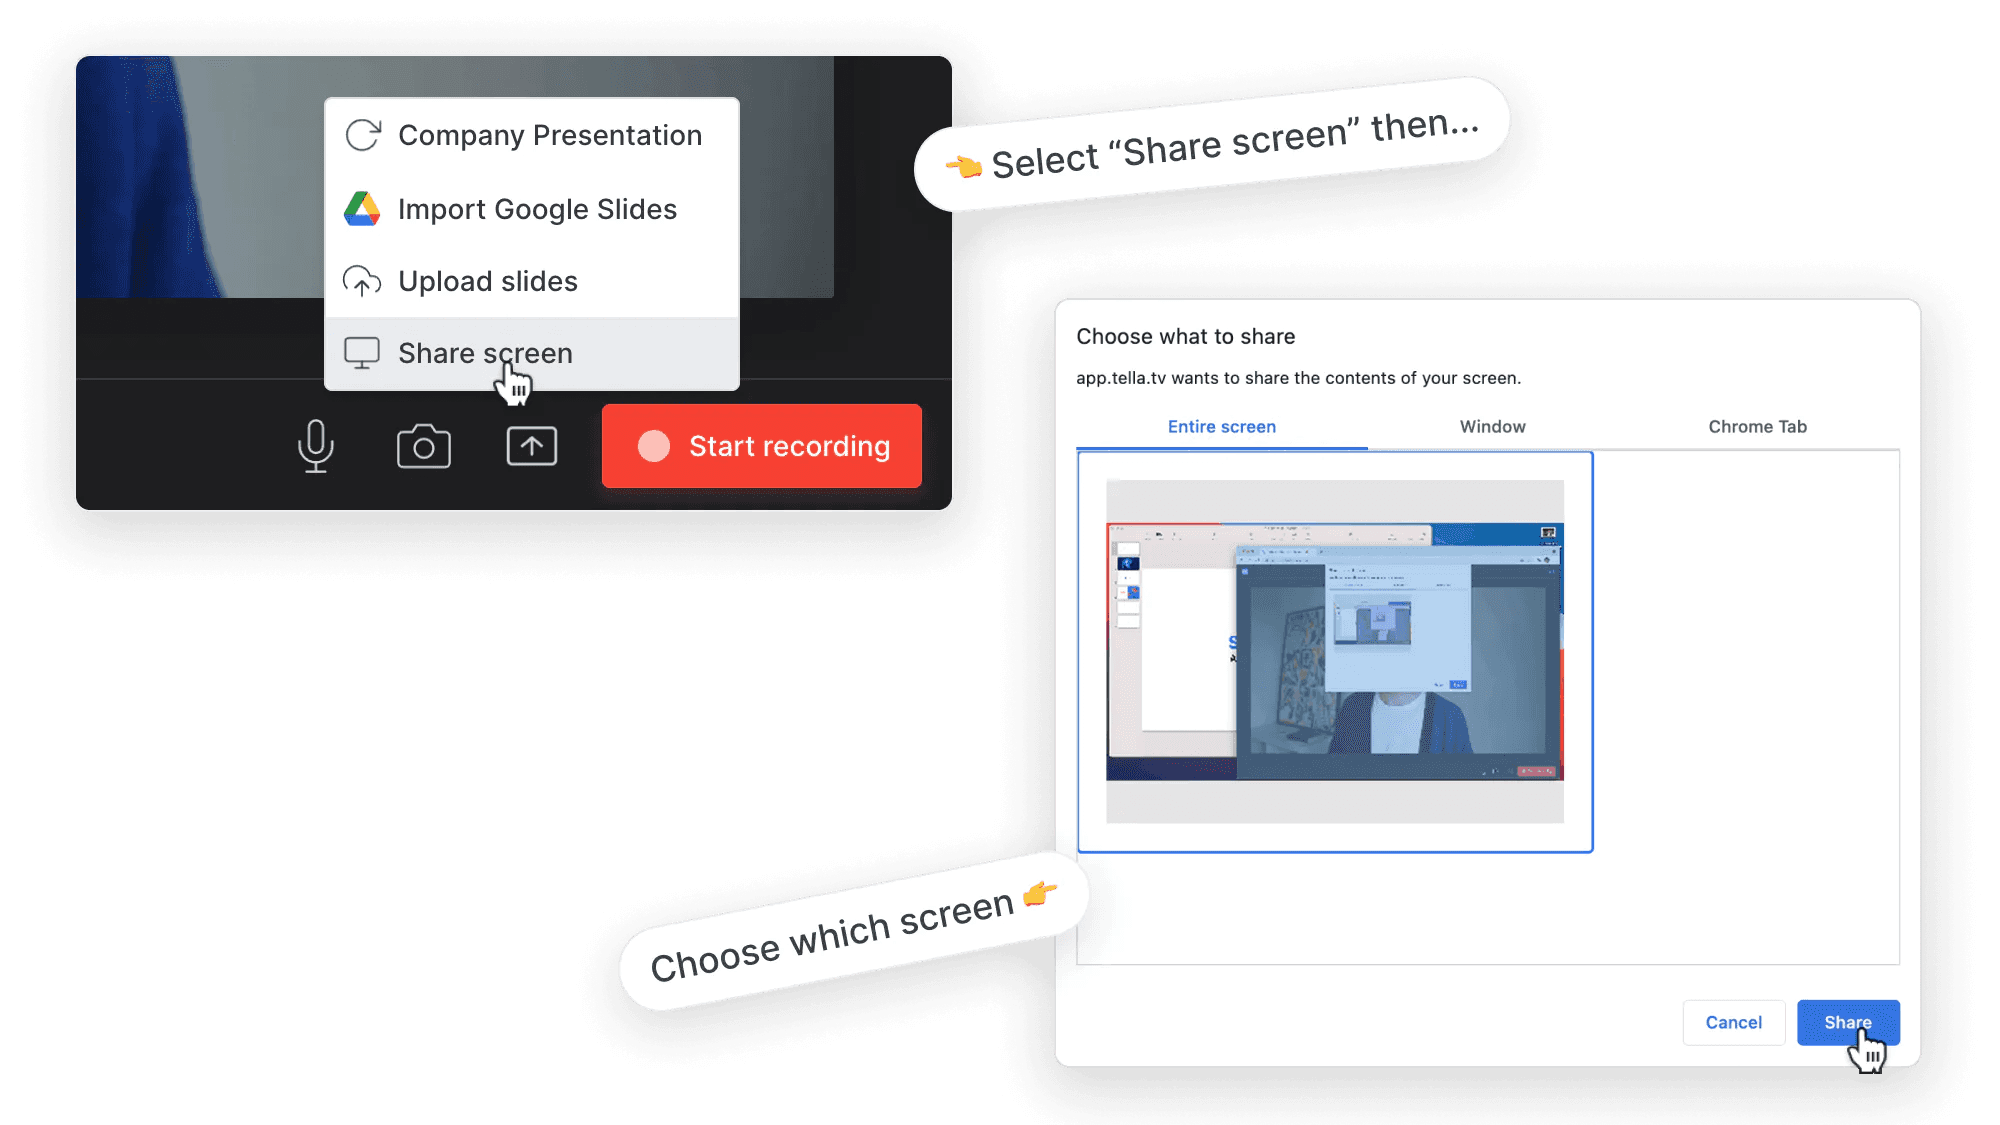
For recording slides "Entire screen" is usually the best option. You can also experiment with other options depending on what your browser offers (Chrome, Safari, and Firefox all have slightly different screen recording capabilities).
Recording & presenting
Once you have your screen and camera set up press "Start recording".
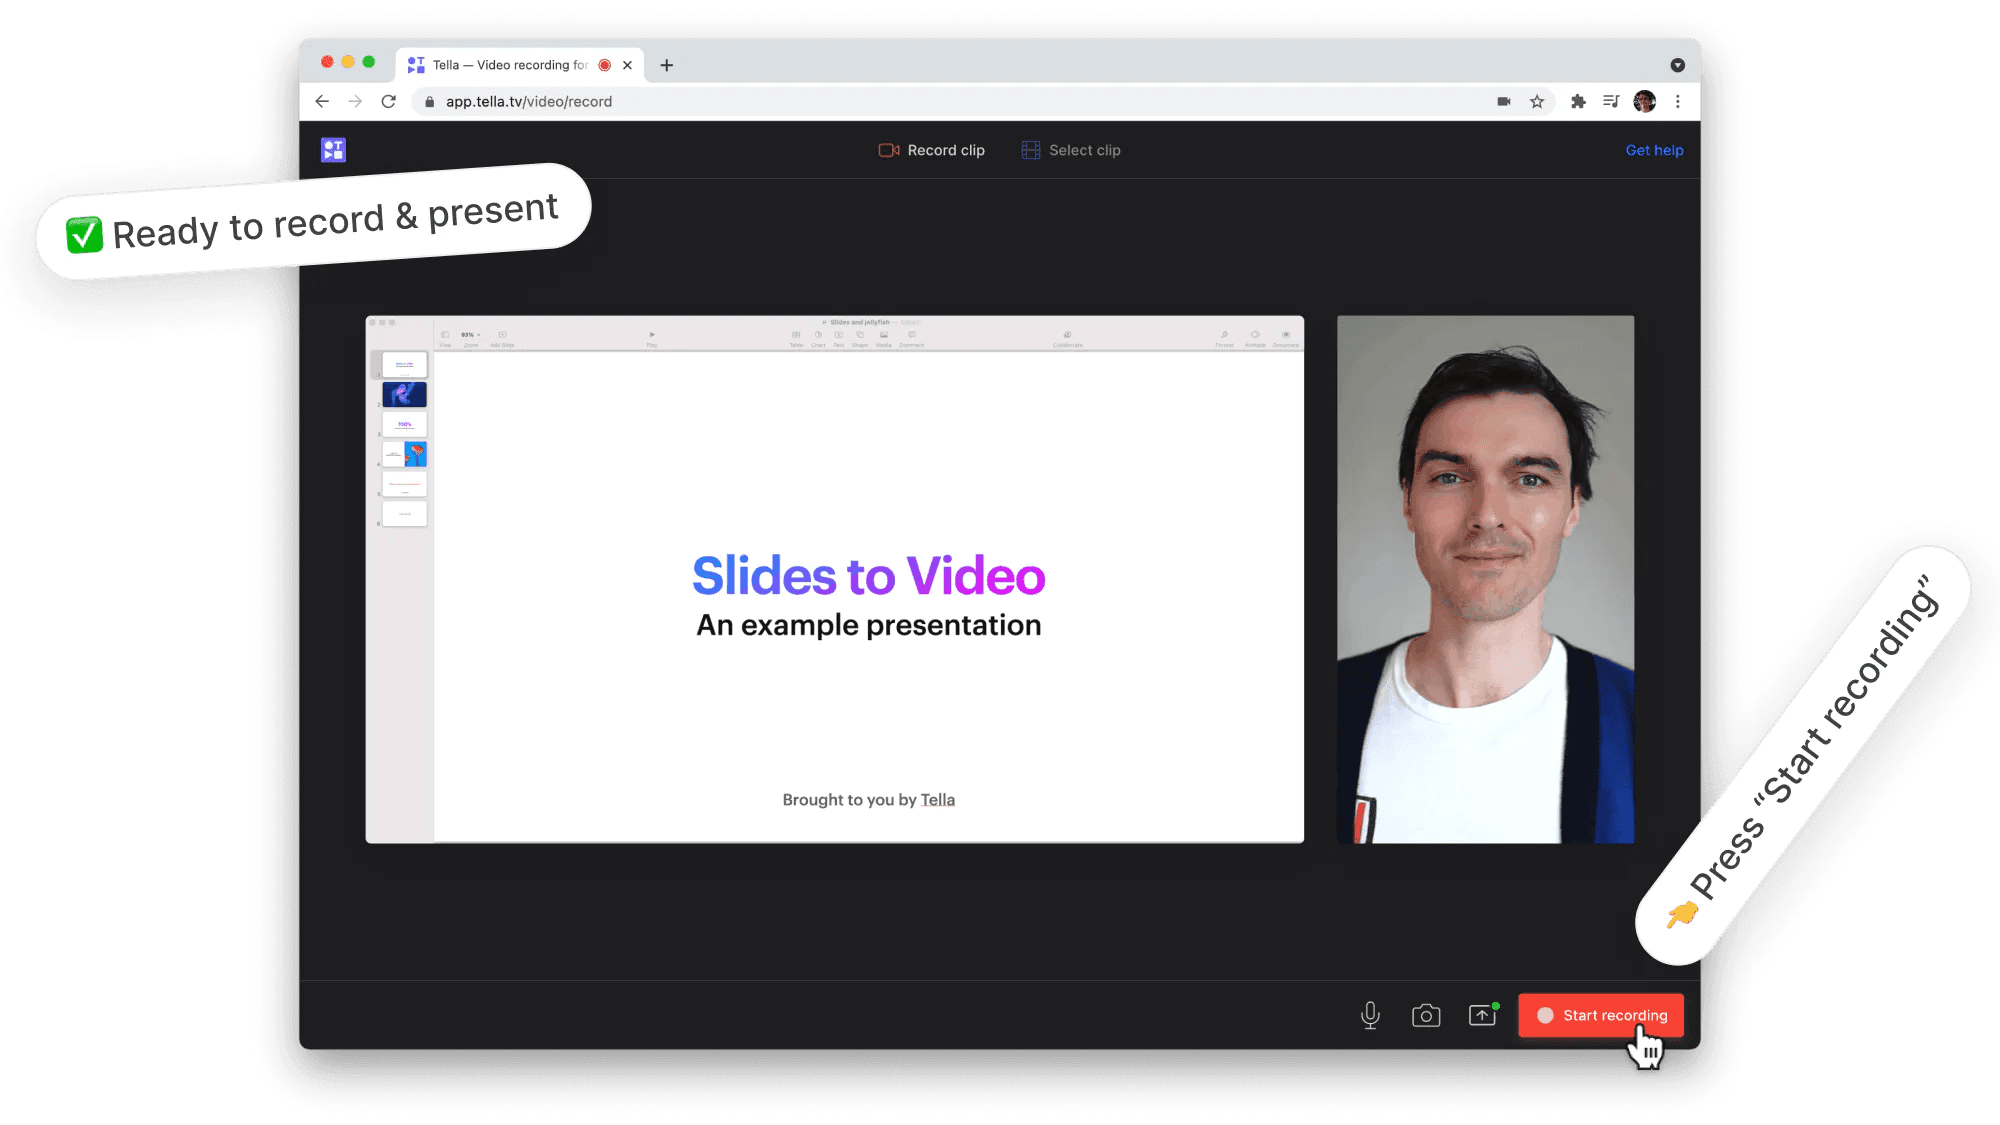
Now that your screen is being recorded you can switch over to your presentation software to present your slides.
Present your slides in full-screen mode for best results.
Once you've completed your presentation head back into Tella and press "Stop recording". This will save the recording.

Customising, sharing, downloading
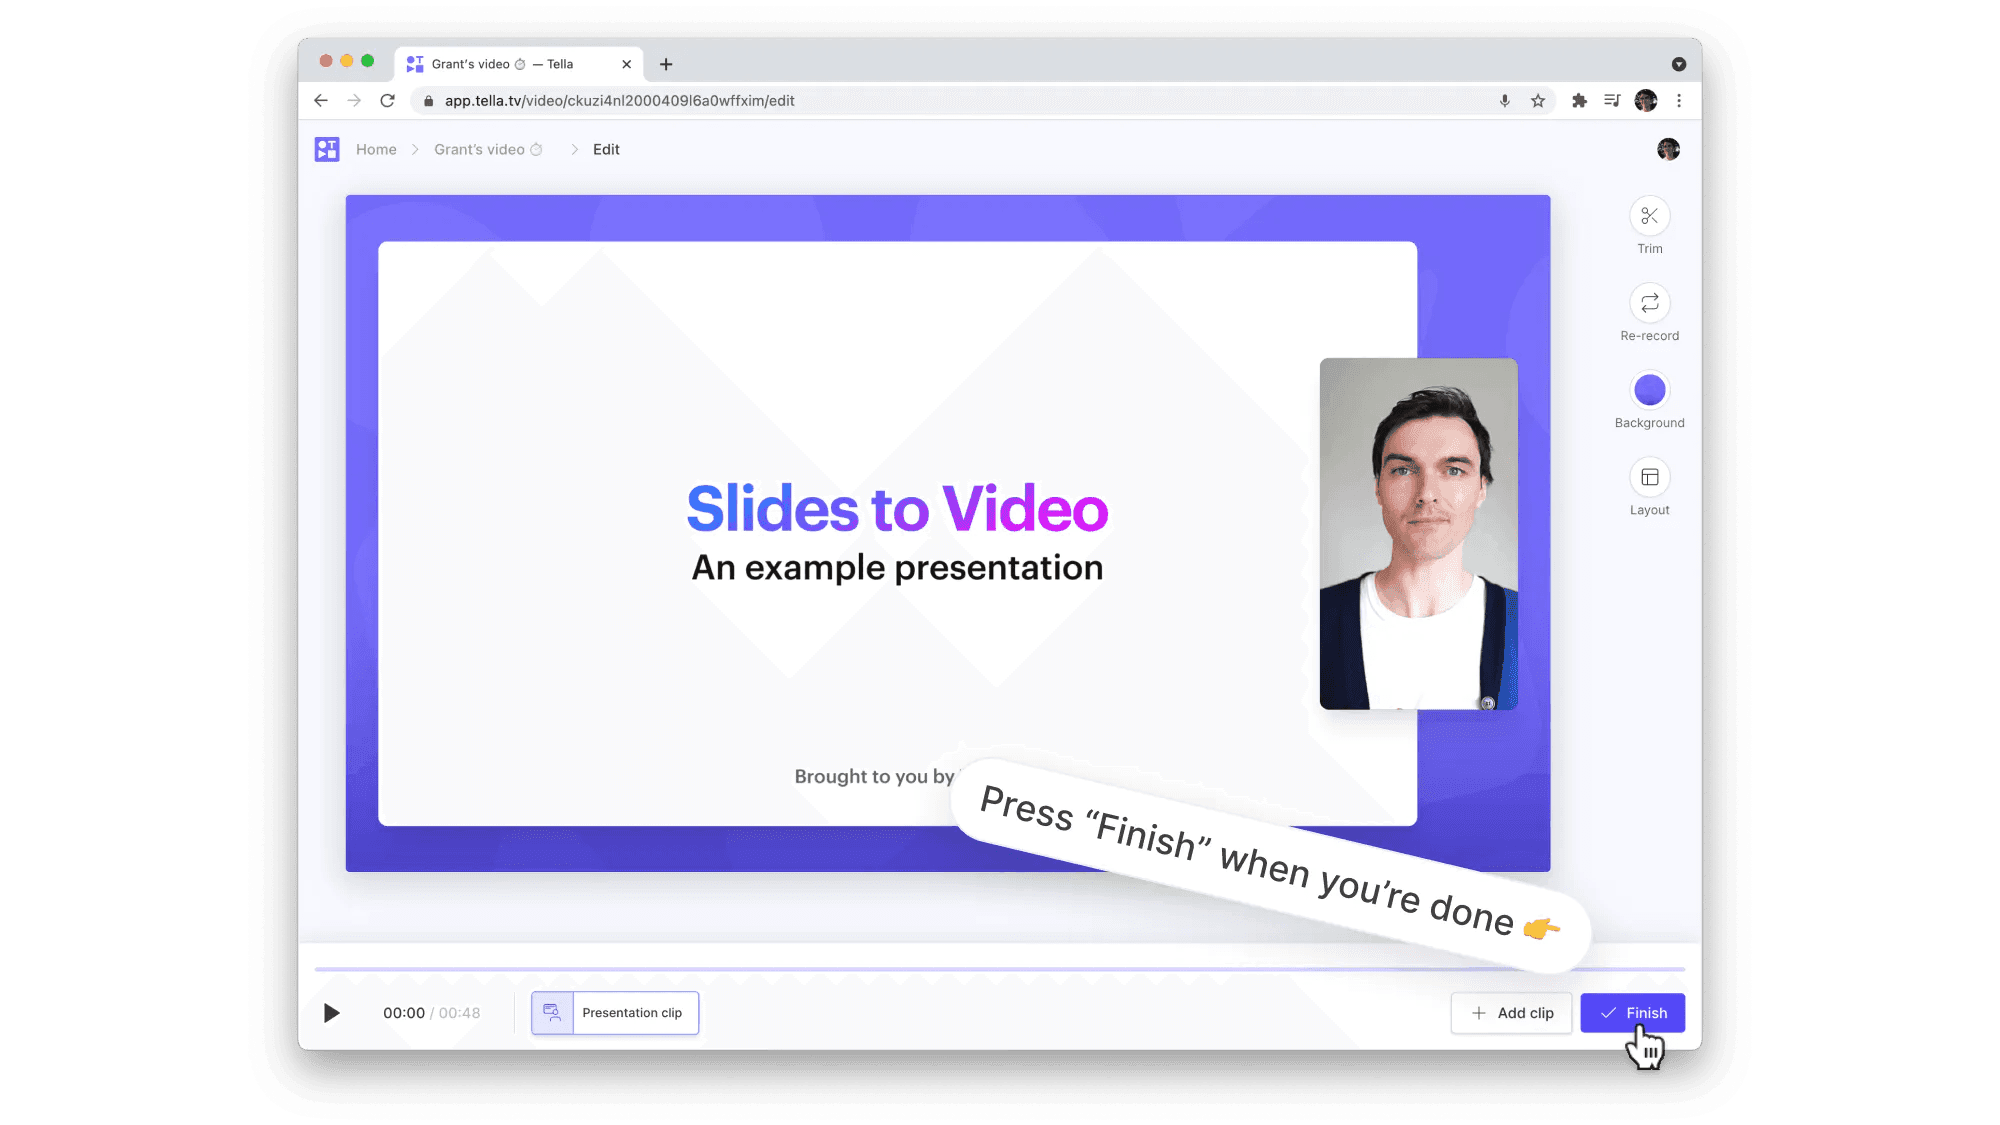
To finalise your recording press "Edit video". You'll be taken to the Tella editor where you can customise your video by changing layouts, applying backgrounds, or recording other clips.
When you're happy to with your video, press "Finish".
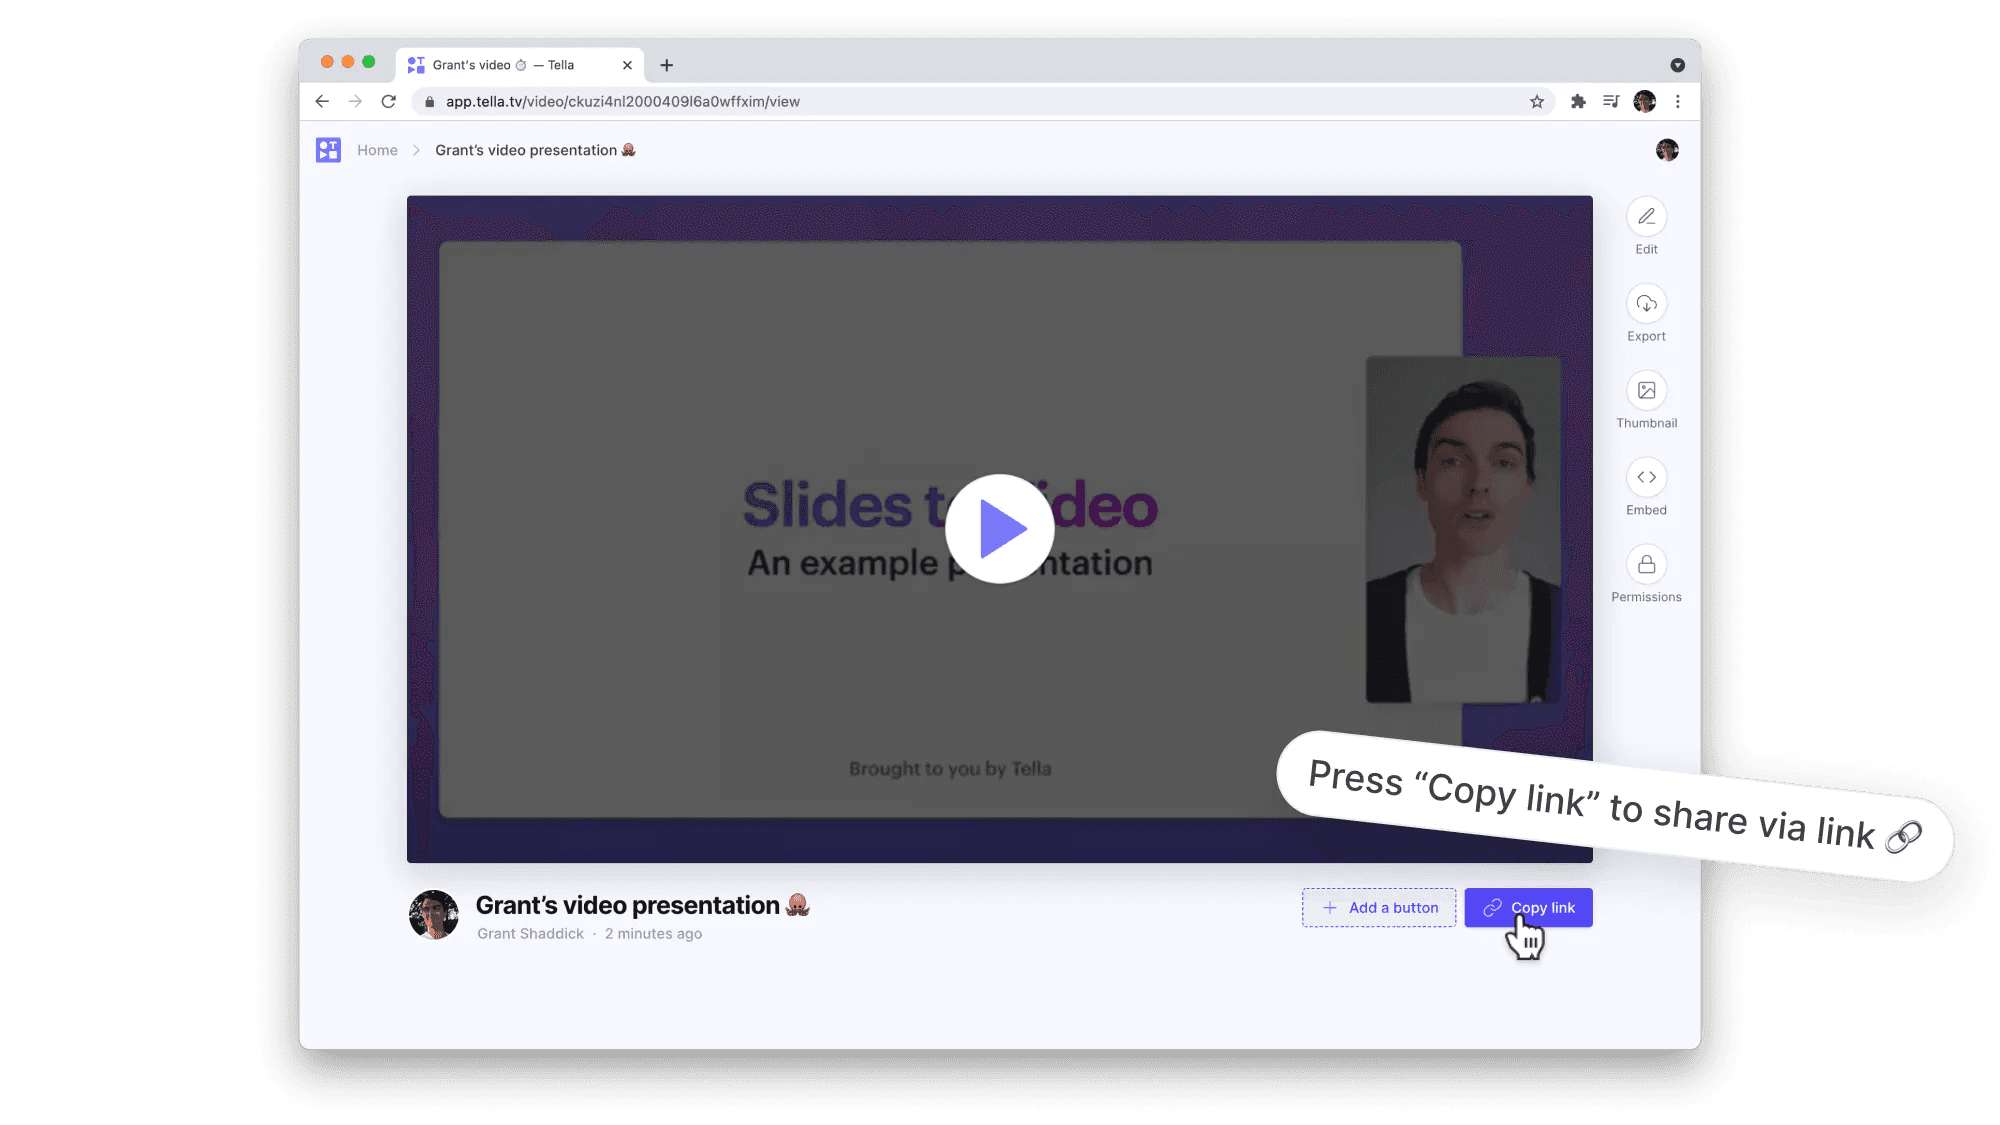
Now you can share you video with viewers by copying its link. Or download your video as an mp4 file by pressing "Export".
To learn more about customising, sharing, and downloading check out the last section of this post.
2. Importing slides to Tella
This approach explains how to convert slides to video by creating a video presentation. The key difference between this approach and the previous is that you're going to import your slides directly into Tella. This makes for an easier presentation experience and a better looking video at the end of it.
You'll also be able to record your audio and camera to present the slides.
Importing slides
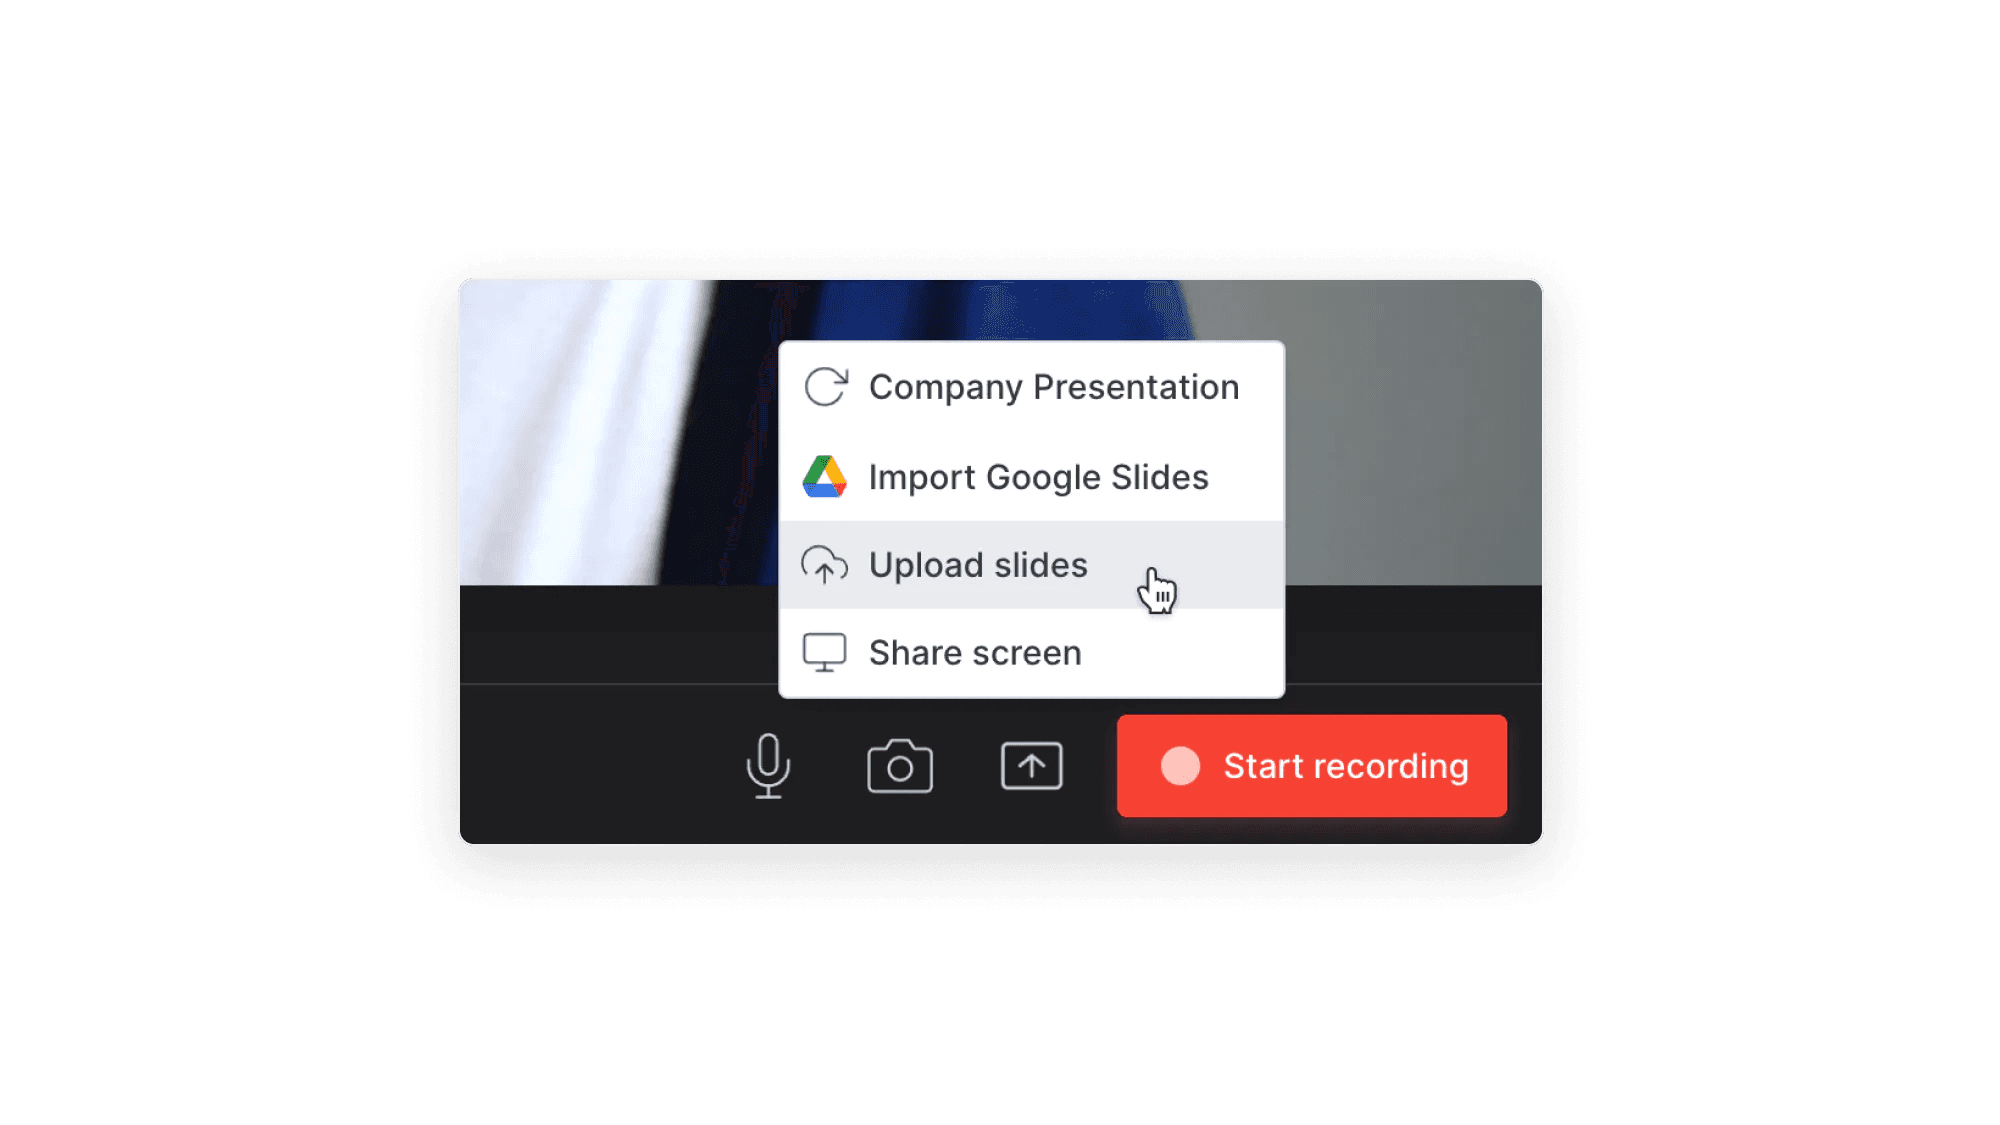
In the Tella recorder select "Import from Google Drive" or "Upload slides" from the share menu.
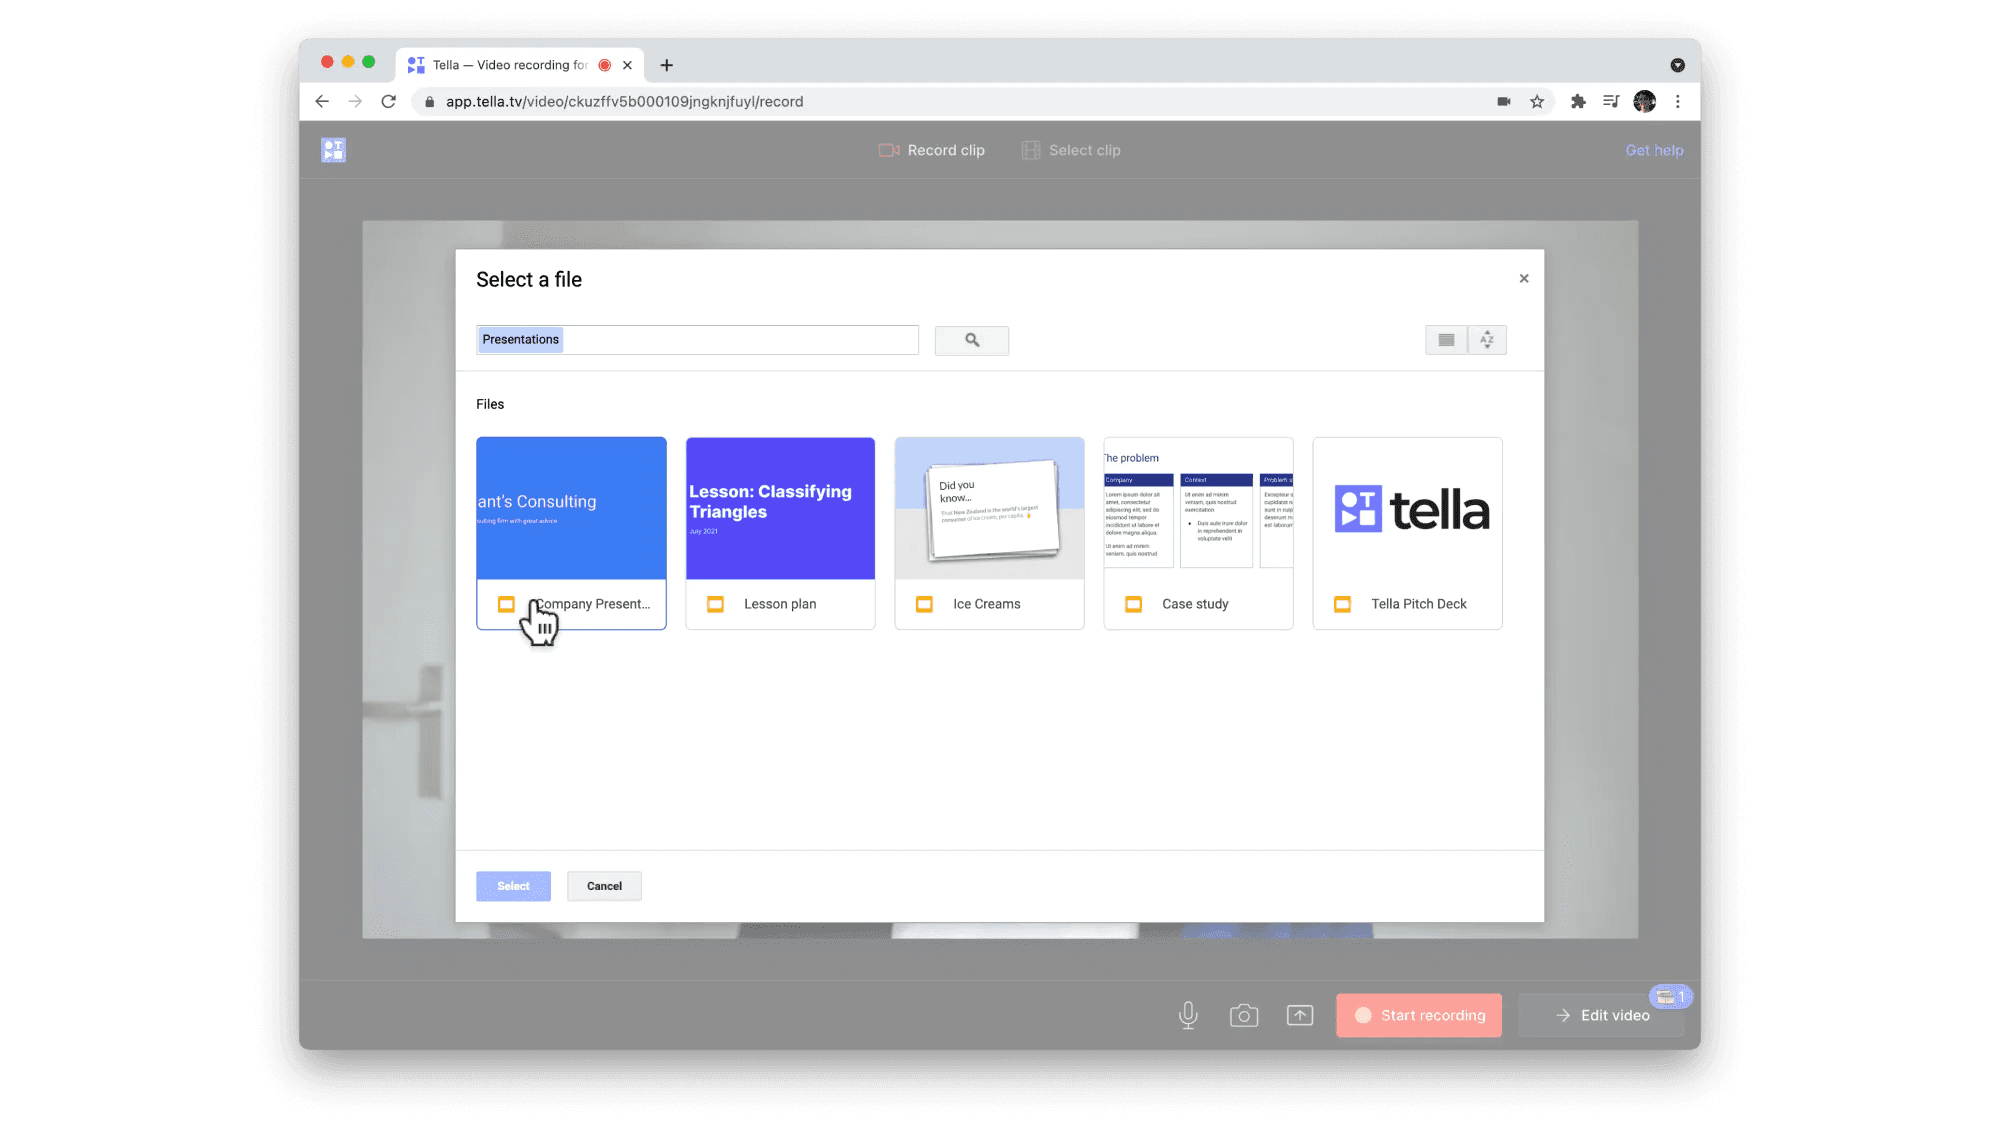
Importing from Google Drive
When you select this option you'll be prompted to sign in to Google Drive. Once signed in, you can choose which deck you want to use — this will import it into the Tella recorder.
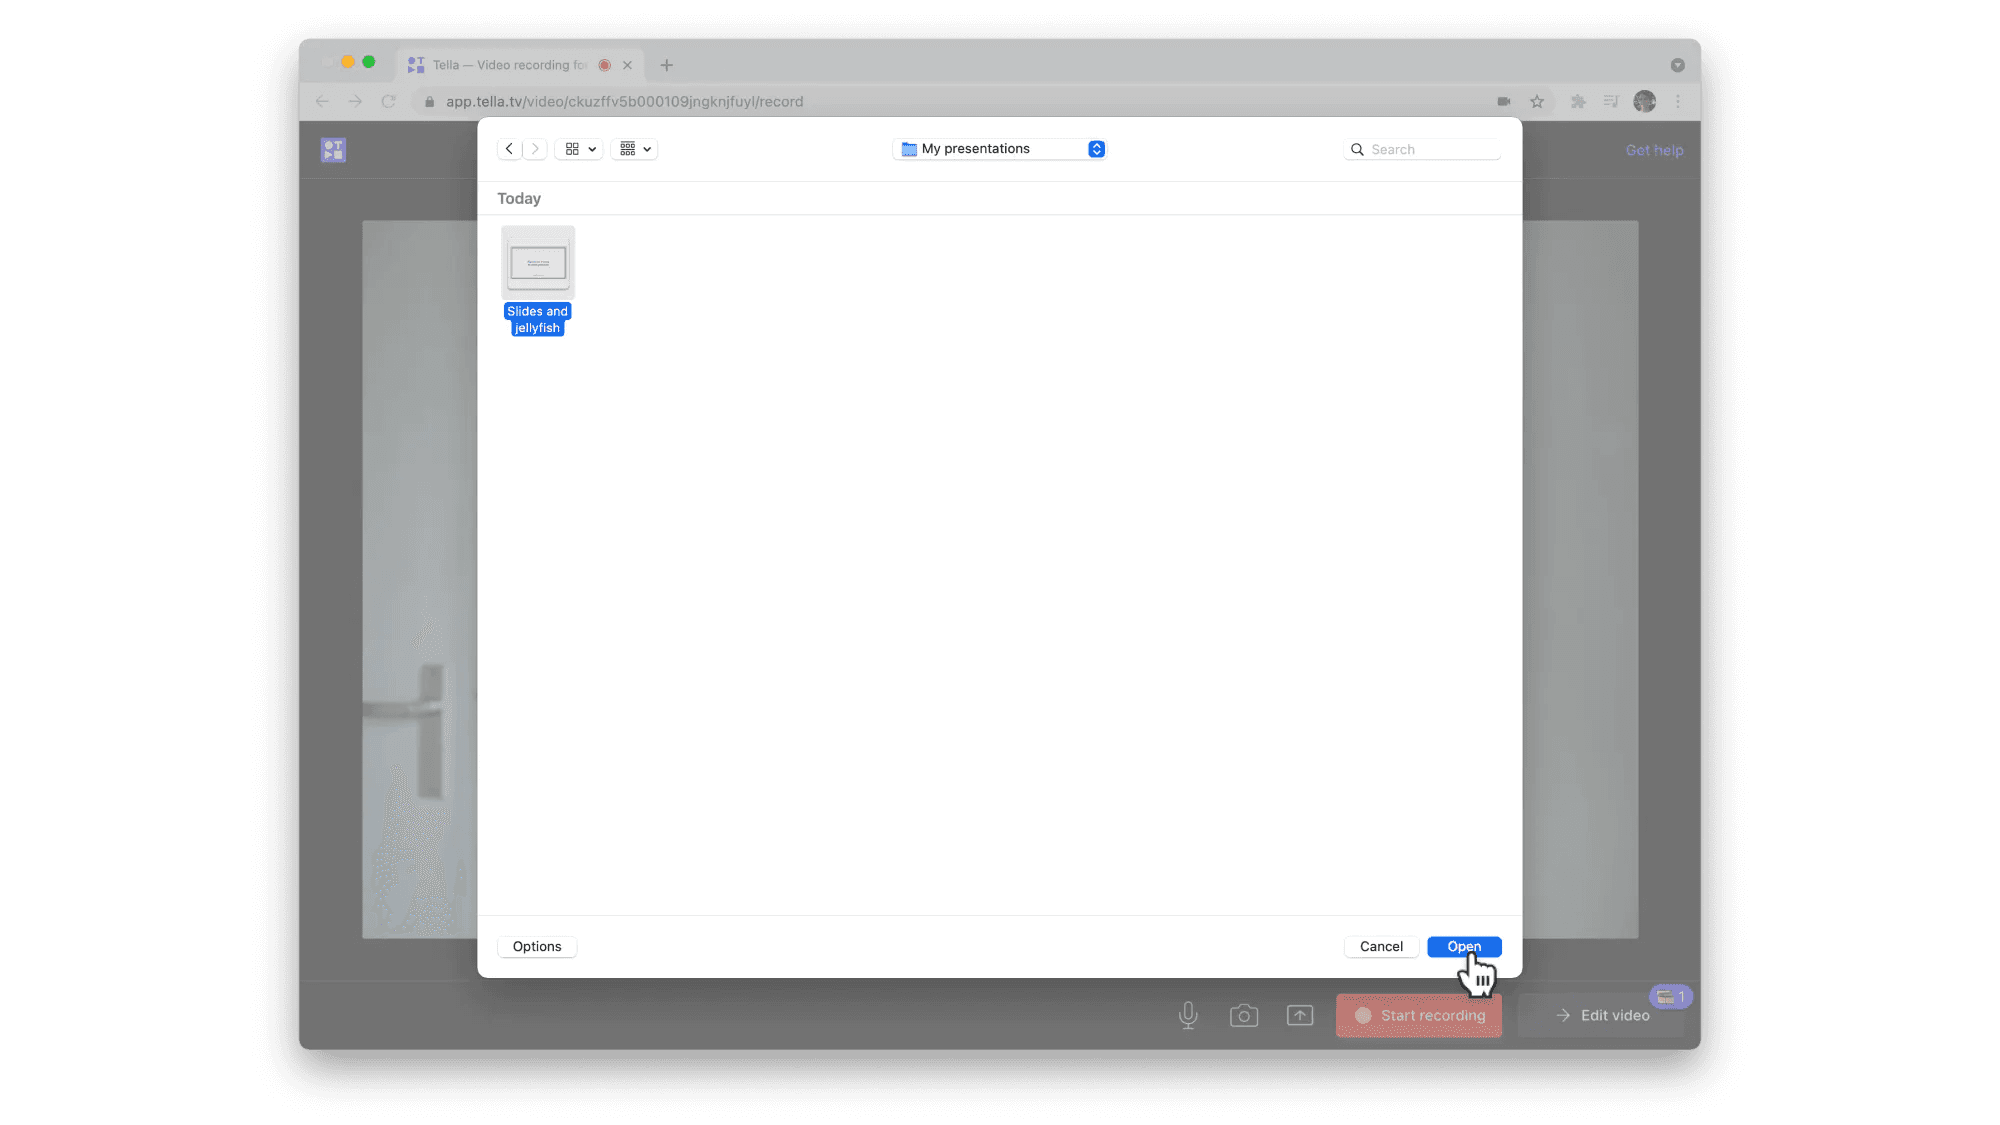
Uploading from desktop
Choosing this option will prompt you to select a file from your computer. Tella supports Microsoft PowerPoint, Apple Keynote, PDF files, and images. If you want to use images as slides then you can select and import multiple images at once.
Recording setup
You can adjust your presentation once it's been imported. Here are some of the things that you can do:
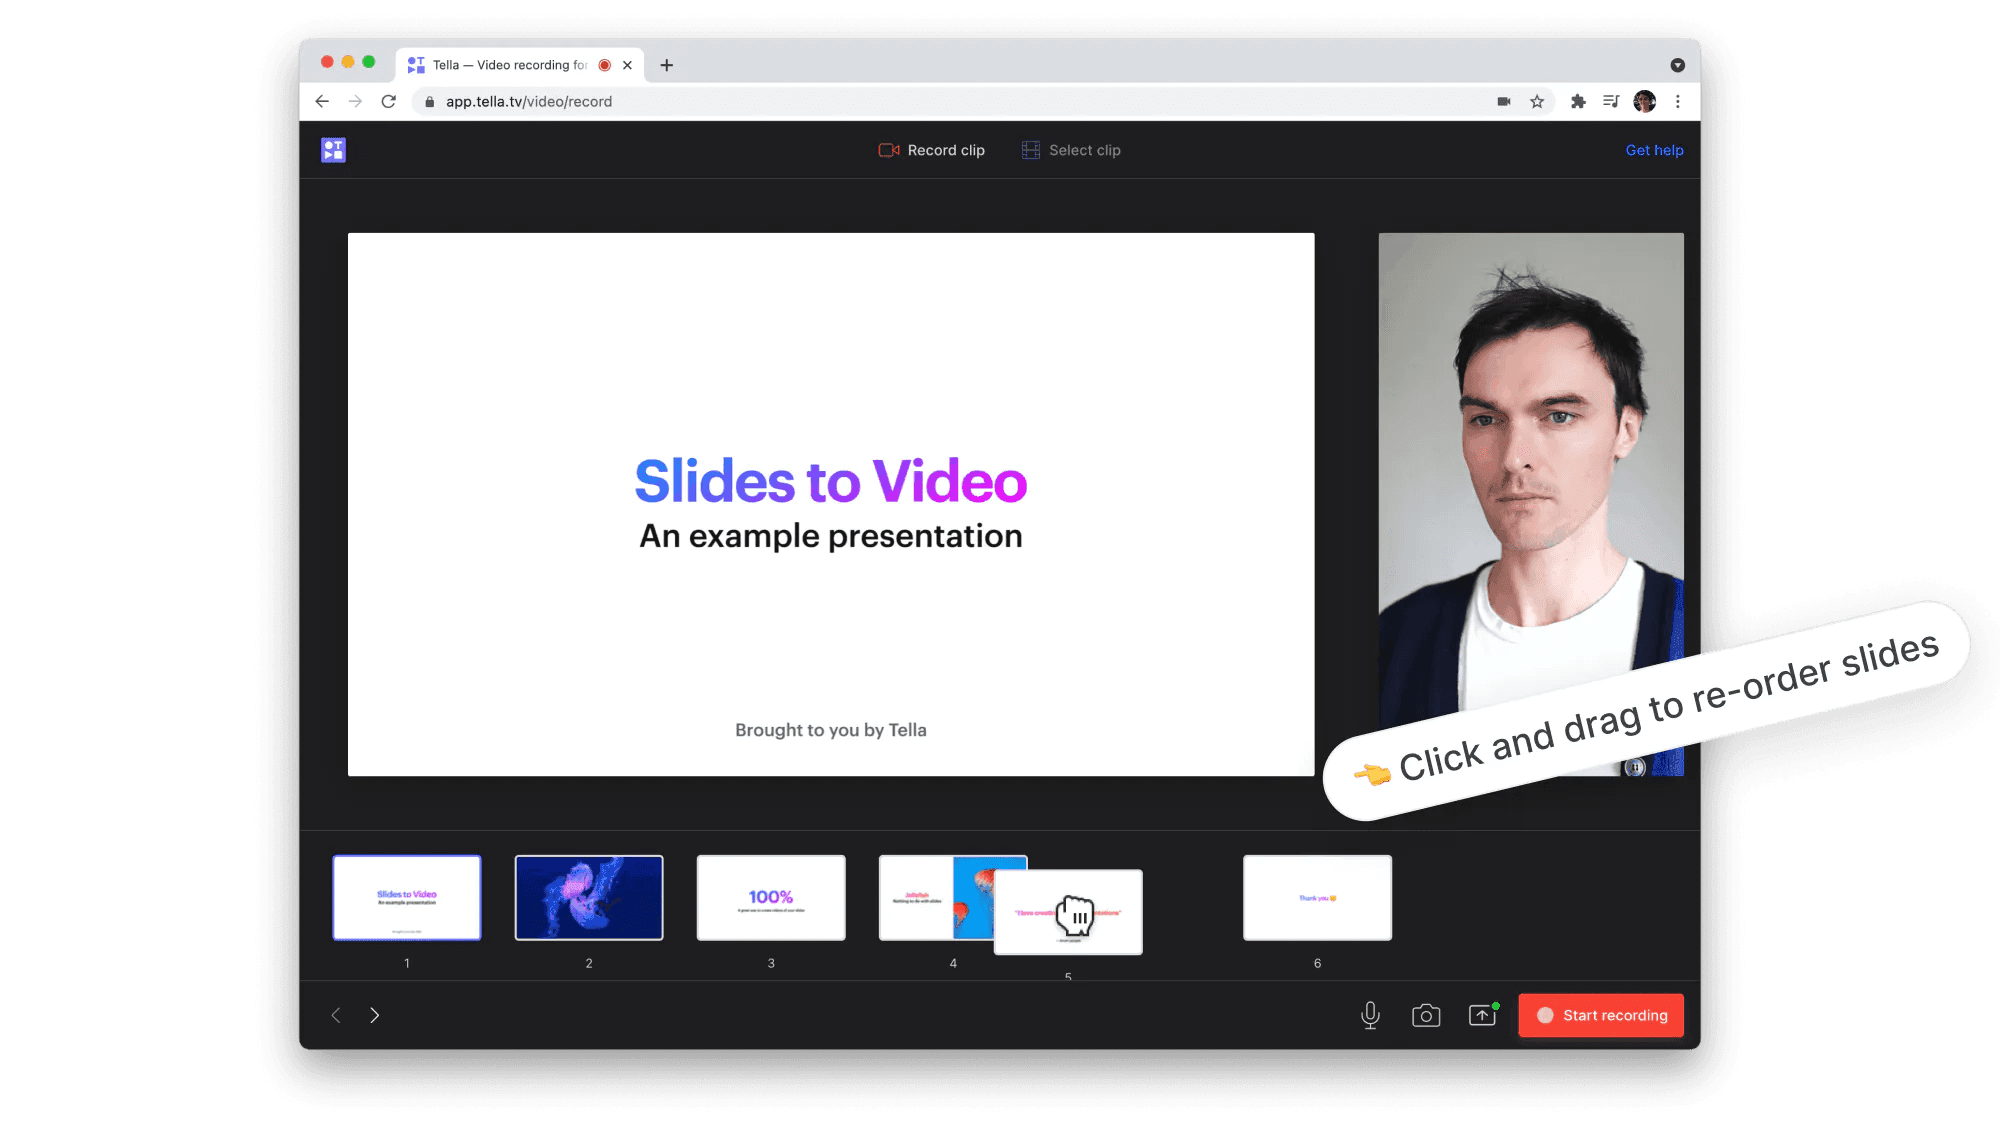
Re-order slides — just click and drag to change order.
Remove slides — select a slide and then press backspace or delete on your keyboard.
Add new slides — if you want to include other content, like additional images or slides from other presentations, select "Upload slides" from the share menu again. Any new slides imported will be added to your current presentation.
🔔 Follow the in-app prompts for setting up your microphone and camera. If you have any trouble with this, check out this help article.
Recording & presenting
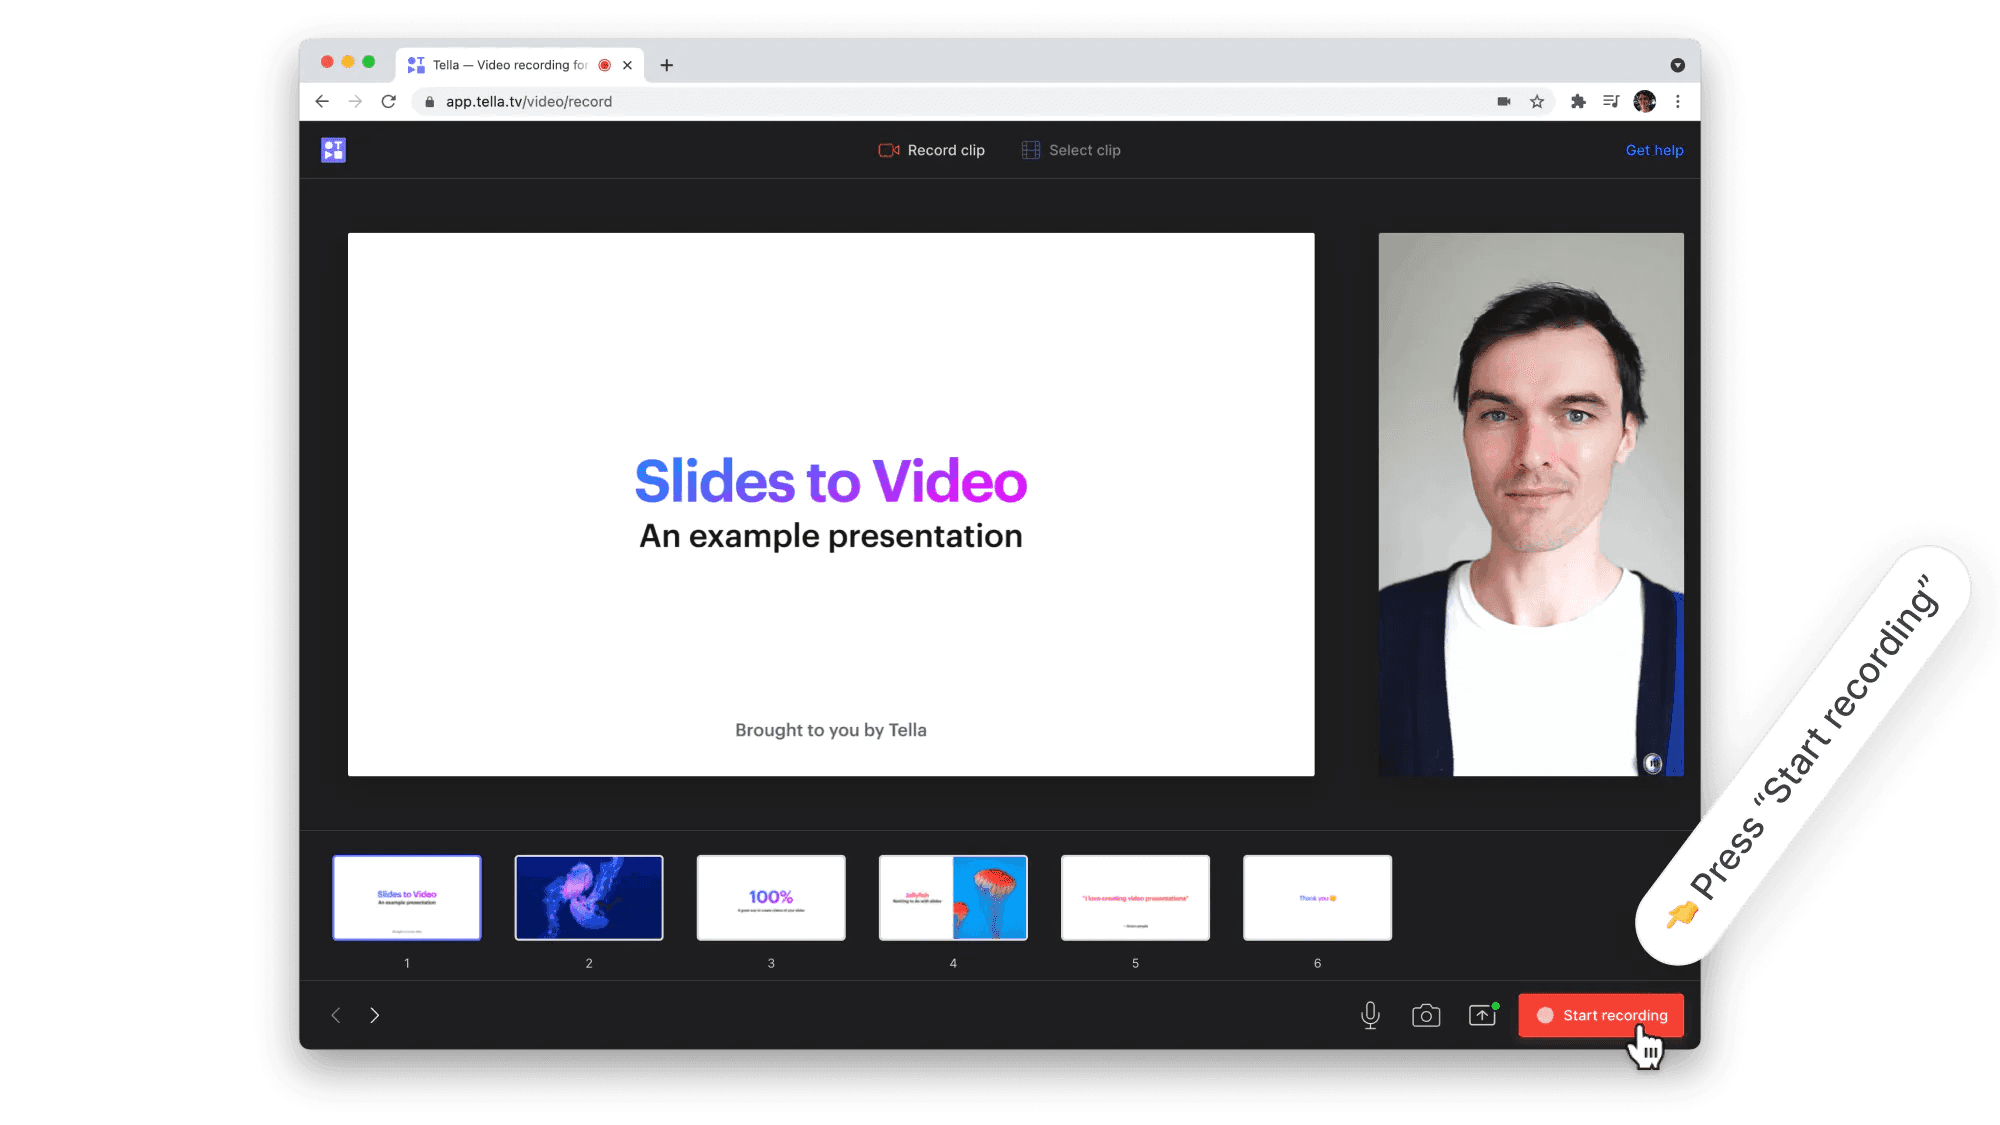
Press "Start recording" when you're ready to record and then present your slides.
To navigate through your slides use the arrows on your keyboard, the arrow buttons in Tella, or simply click on the slide you want to present.
Once you've completed your presentation press "Stop recording". This will save the recording.
Customising, sharing, downloading
To finalise your recording press "Edit video". You'll be taken to the Tella editor where you can customise your video by changing layouts, applying backgrounds, or recording other clips.
When you're happy to with your video, press "Finish".
Now you can share you video with viewers by copying its link. Or download your video as an mp4 file by pressing "Export.
To learn more about customising, sharing, and downloading check out the last section of this post.
3. Silent presentation: slides-only
Convert your slides to video without audio and camera. All you need to do is slightly adjust either of the previous methods.
When you've set up your recording — by selecting a screen to record (method 1) or importing your slides (method 2)— switch off your mic and camera. This will prevent them from being recorded.
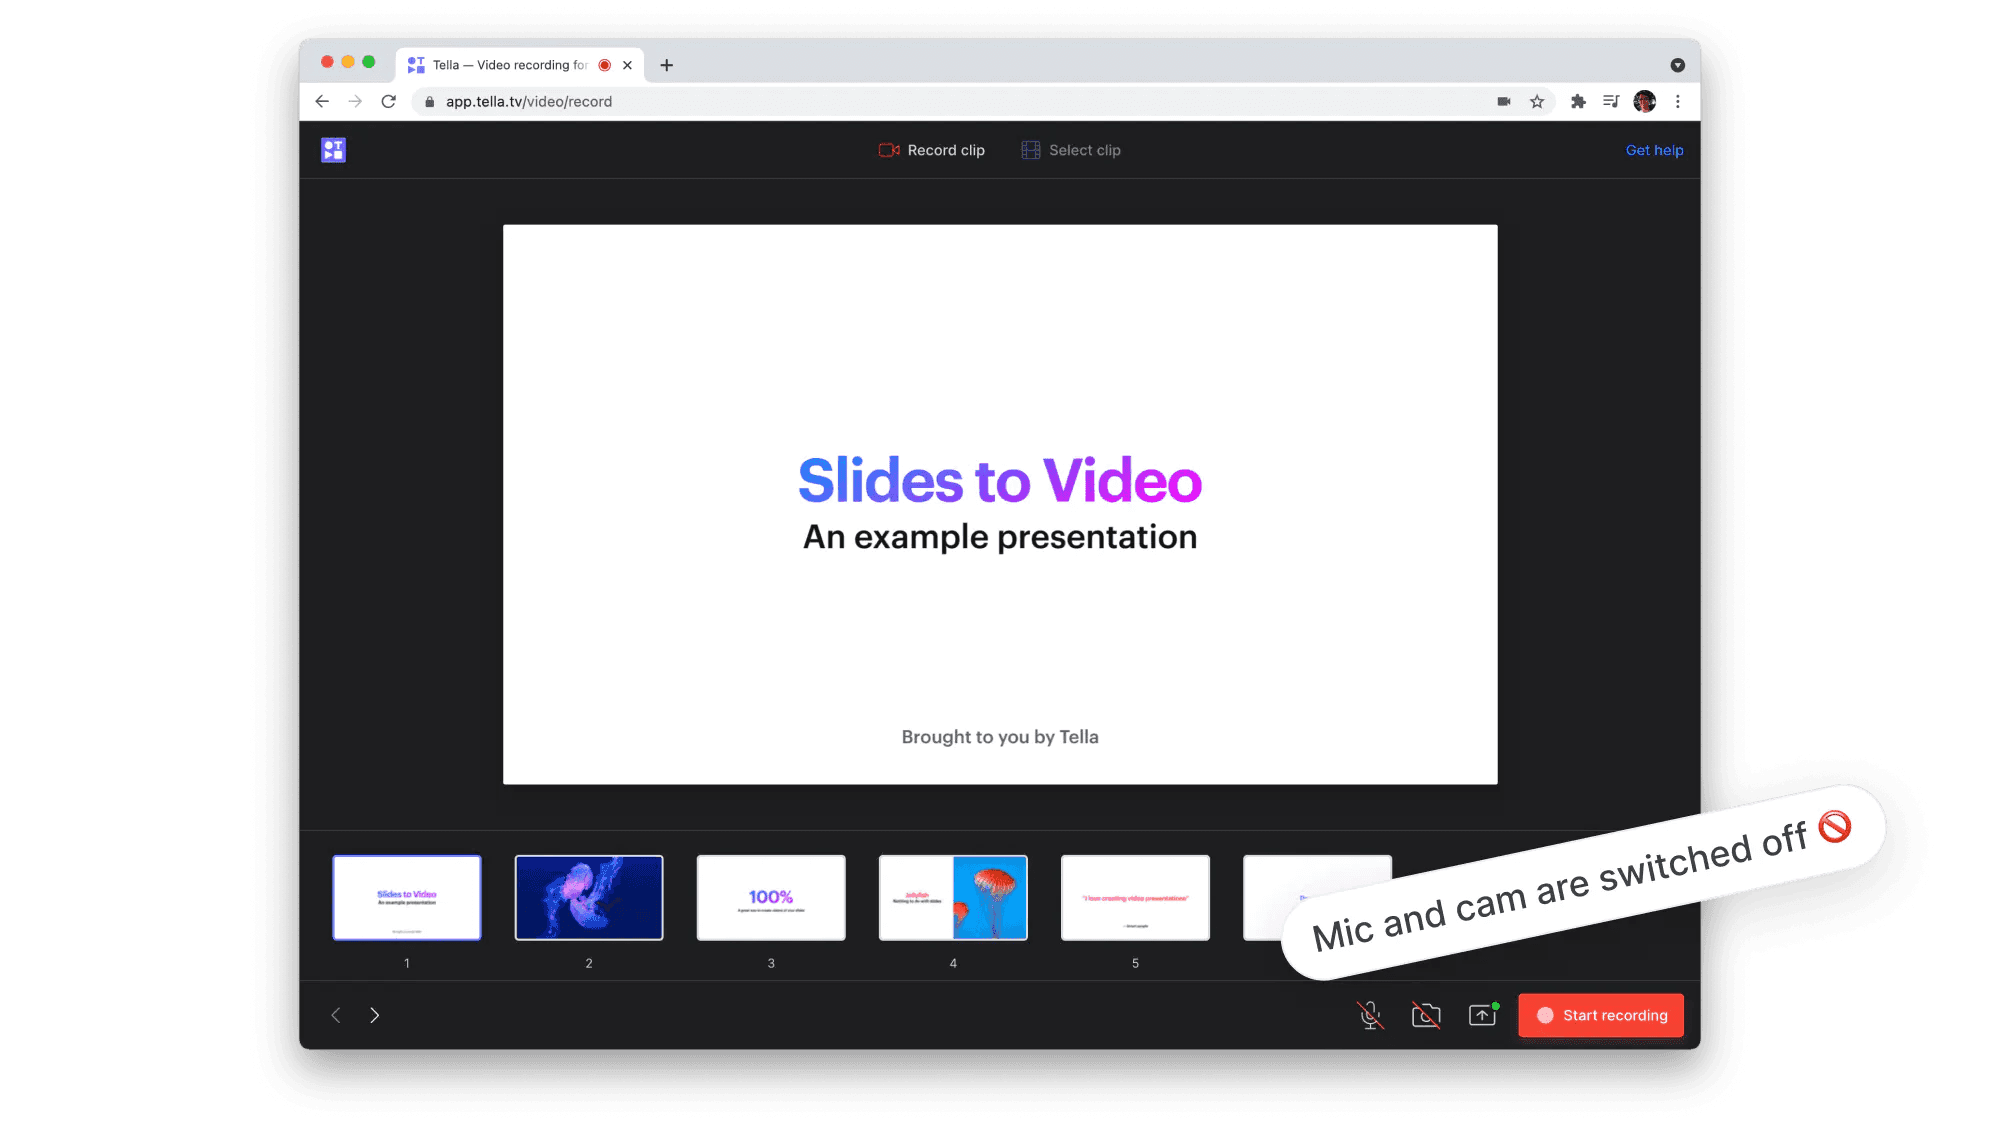
Now press "Start recording" and deliver your presentation by navigating through the slides.
When you're done recording you'll have a video without any sound. The slides will play back as you recorded them.
With this approach you can also use Tella's editing and customisation options.
🔔 If you want a video with sound but no camera, that's possible too. Switch off your camera but leave on your mic so that you can narrate.
Customising, sharing, and downloading
Customising
Whether you've converted your slides to video using method 1, 2, or 3 you can make use of Tella's editor. With it you can...
Trim the recording, to remove any parts you don't want
Re-record, incase you want to re-do it
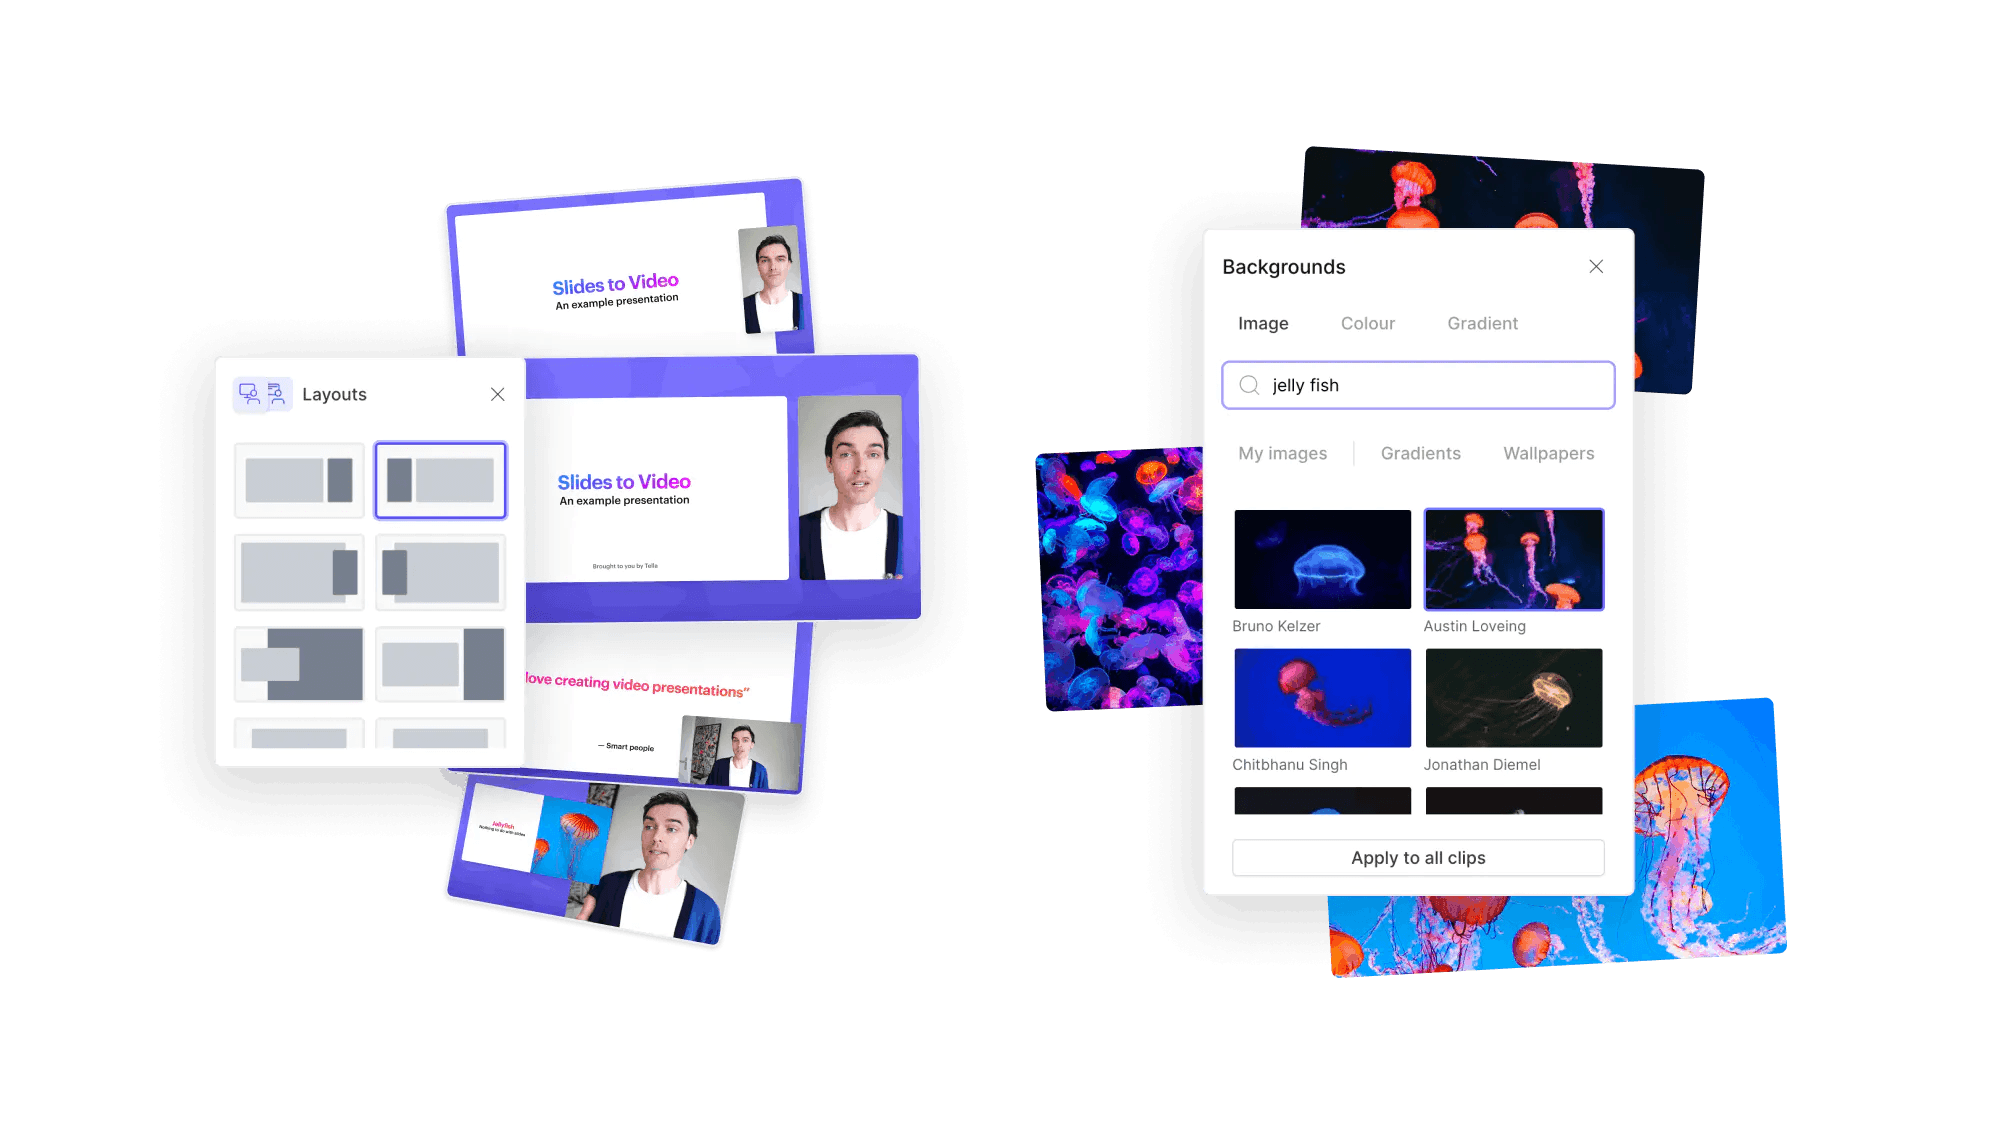
Apply custom backgrounds
Change the layout of your slides and camera
Add other clips — maybe you want a add short introduction at the start, or conclude with a summary clip
When you're done editing, press "Finish".
Now you can share your video as a link or export it as an mp4.
Sharing
To share your video as a link click "Copy link". This will copy the video's URL to your clipboard and then you can send to it whoever you like using Slack or email, for example.
Downloading
To download your video click "Export".
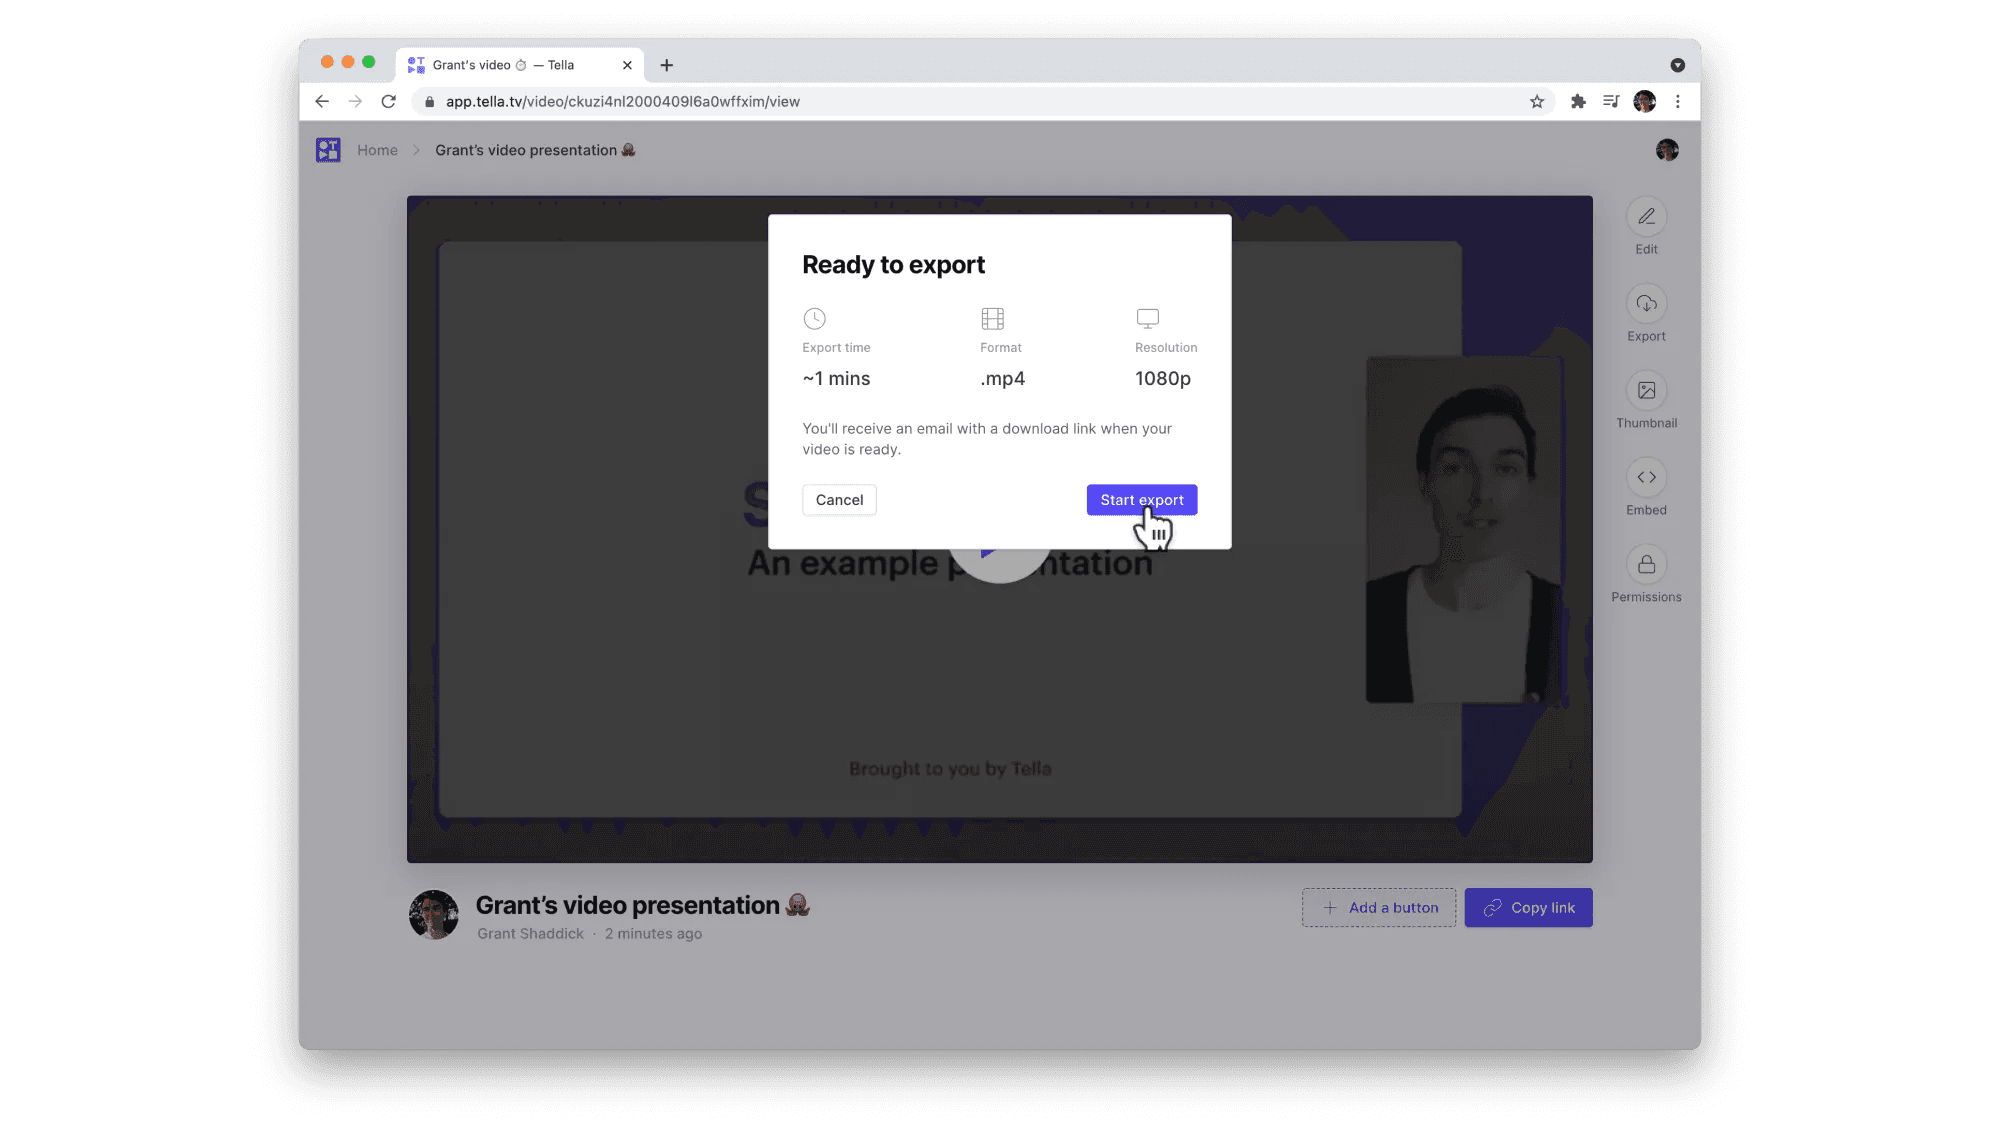
You'll be notified via email when your video is ready to download. The email will include a link to the mp4 file which you can download.


