July 18, 2023
How To Convert a Screen Recording to GIF

Mike
Imagine this.
You've just completed a seamless, one-take screen recording. It's flawless. You nailed it. It's crisp, accurate, and a powerful resource for your team, client, or audience.
It's the exact level of quality content you were aiming for.
There's just one hitch.
The final video file might not be the most handy format for others to access, replay, and learn from.
You've got to host, share, and ensure your clip is as accessible as possible.
And the truth is, if no one's watching your video content, it will have all been for nothing.
Fortunately, there's a simple solution gaining popularity for its user-friendly nature.
It's the Graphics Interchange Format, more commonly known as a GIF.
So, why might you want to convert your carefully-crafted screen recording into a GIF? And more importantly, how do you turn a fully-fledged HD video into a manageable GIF file?
This is your guide with everything you need to know.
Why Convert a Screen Recording to a GIF?
GIFs are far more digestible and manageable than videos for several reasons.
They provide bite-sized snippets of information displaying a process or action in a continuous loop. This makes them perfect for demos needing to be watched several times.
Moreover, their file size is often smaller than videos. This is ideal for making them more easily shared or embedded in emails or web pages.
Imagine you're showing a peer how to perform a specific task in a software application. The exchange can become more interactive and user-friendly if you can do so in a GIF format rather than a video.
If you're embedding video content into an email or social media post, you don't want to include the entire video. Instead, you'll rather highlight a snippet. For this, the GIF is a great choice.
If you want to include such content in an instant or direct message, and a video file is simply far too big to send, a GIF is a much better option.
In short, GIFs promote practicality and efficiency. If you're working with video content, GIFs are an absolutely essential sidekick.
How to Convert a Screen Recording to a GIF
So, GIFs are important. The question is, how do you actually turn a video into a GIF. All without losing the original quality and production value of the original video?
Well, the best and simplest way to do this is using an online web app known as Ezgif.
Of course, you can use another online app or video editing software that supports GIF exports. However, as the name suggest, Ezgif can convert your video to a shareable GIF in a few seconds. Here's a step-by-step guide on how to do just that.
Step #1 - Prepare Your Video
Start off by taking your video content and editing it down. Ezgif has an upload limit of 100mb. This is fine since you're never going to want to GIF bigger than this. Either you can convert your entire existing video or just a part of it. If you're converting a part of it, you need to use your video editing software to cut the video down to just the clip you want.
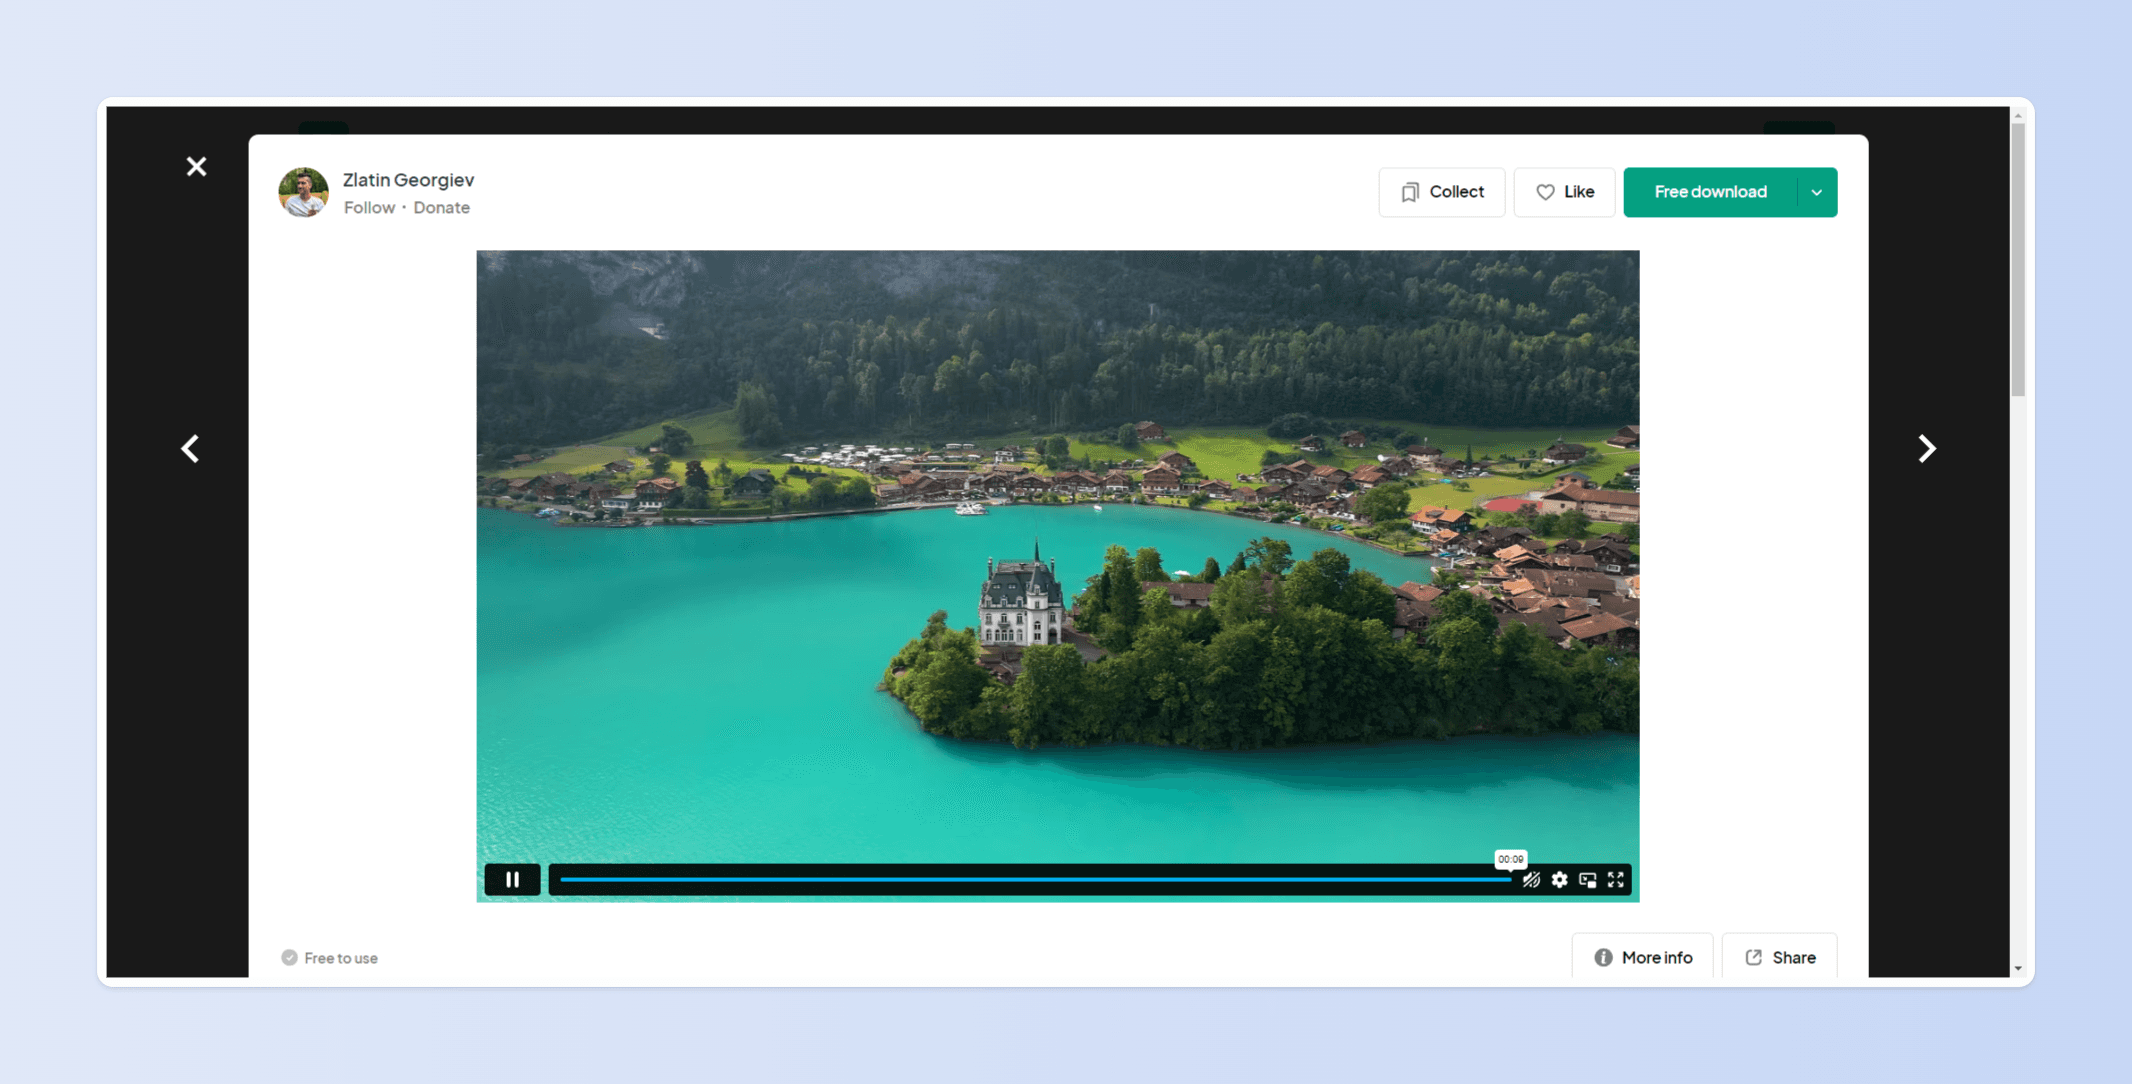
If you're using Tella as your screen recorder, you can simply use the edit function to trim the clip down and edit it. For this tutorial, we're going to use this stock drone footage.
Step #2 - Upload to EzGif
Head over to Ezgif, and you'll find yourself on the homepage.
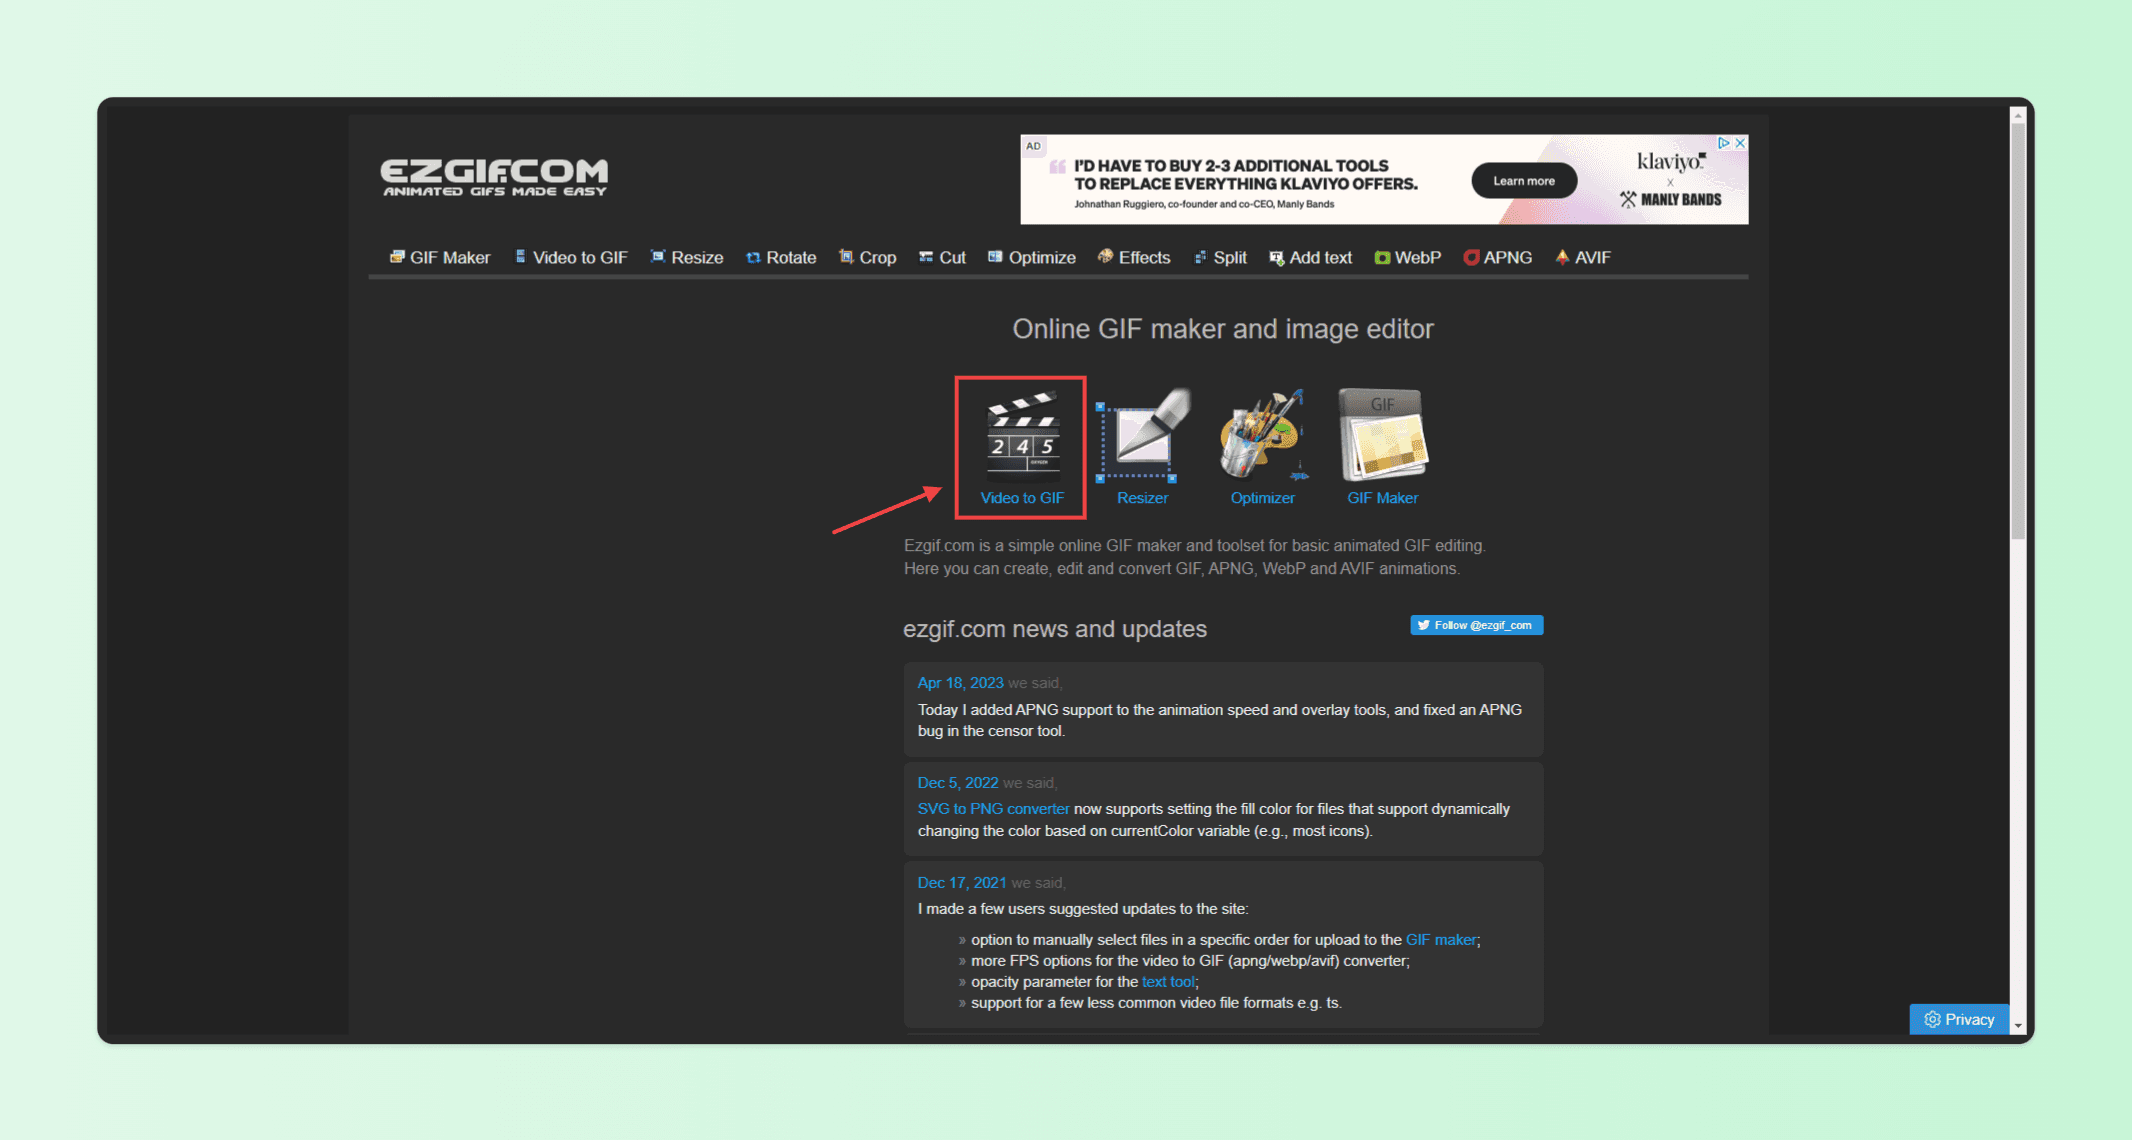
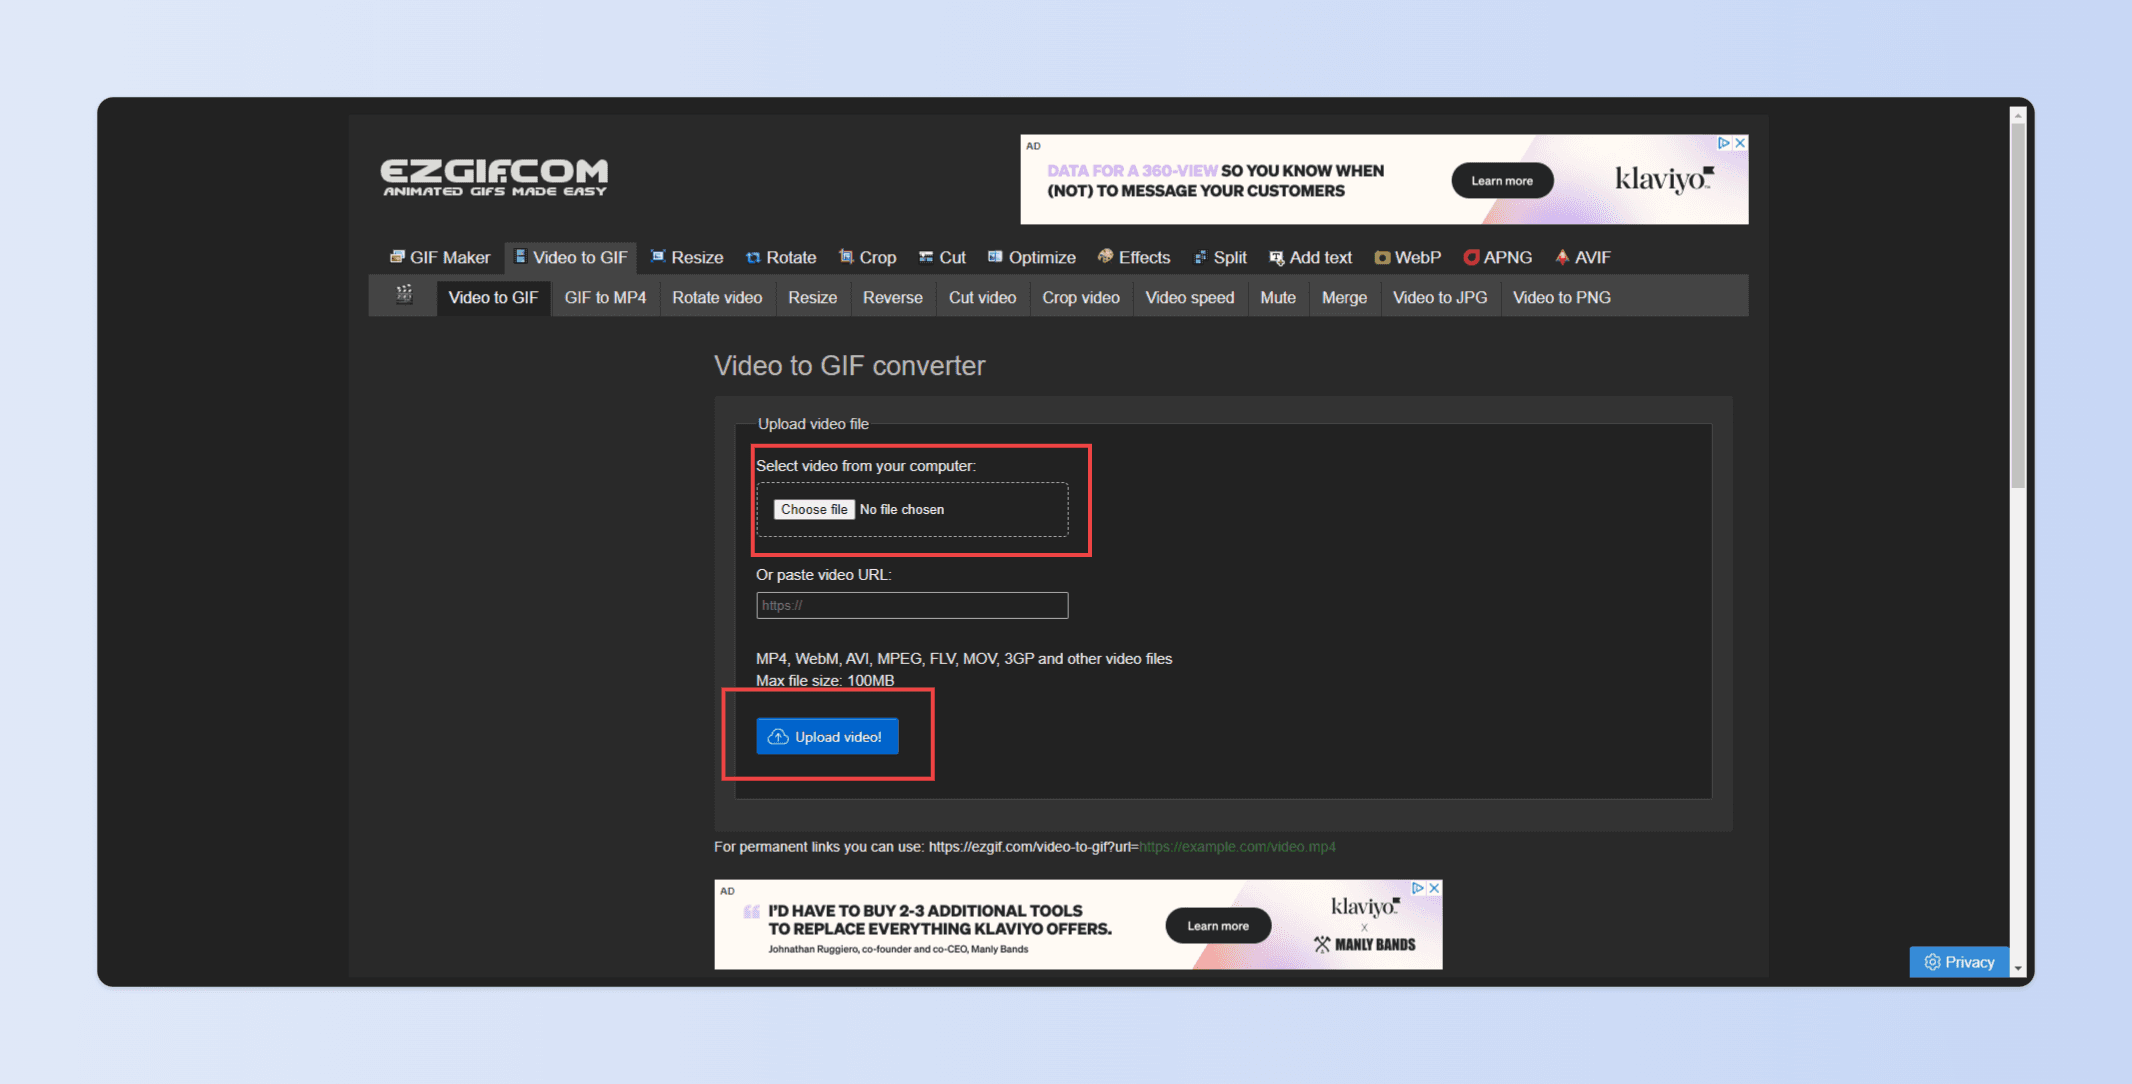
Click on the "Video to GIF" option, then "Choose File," and then the "Upload File" to add your video content to the EzGIF servers.
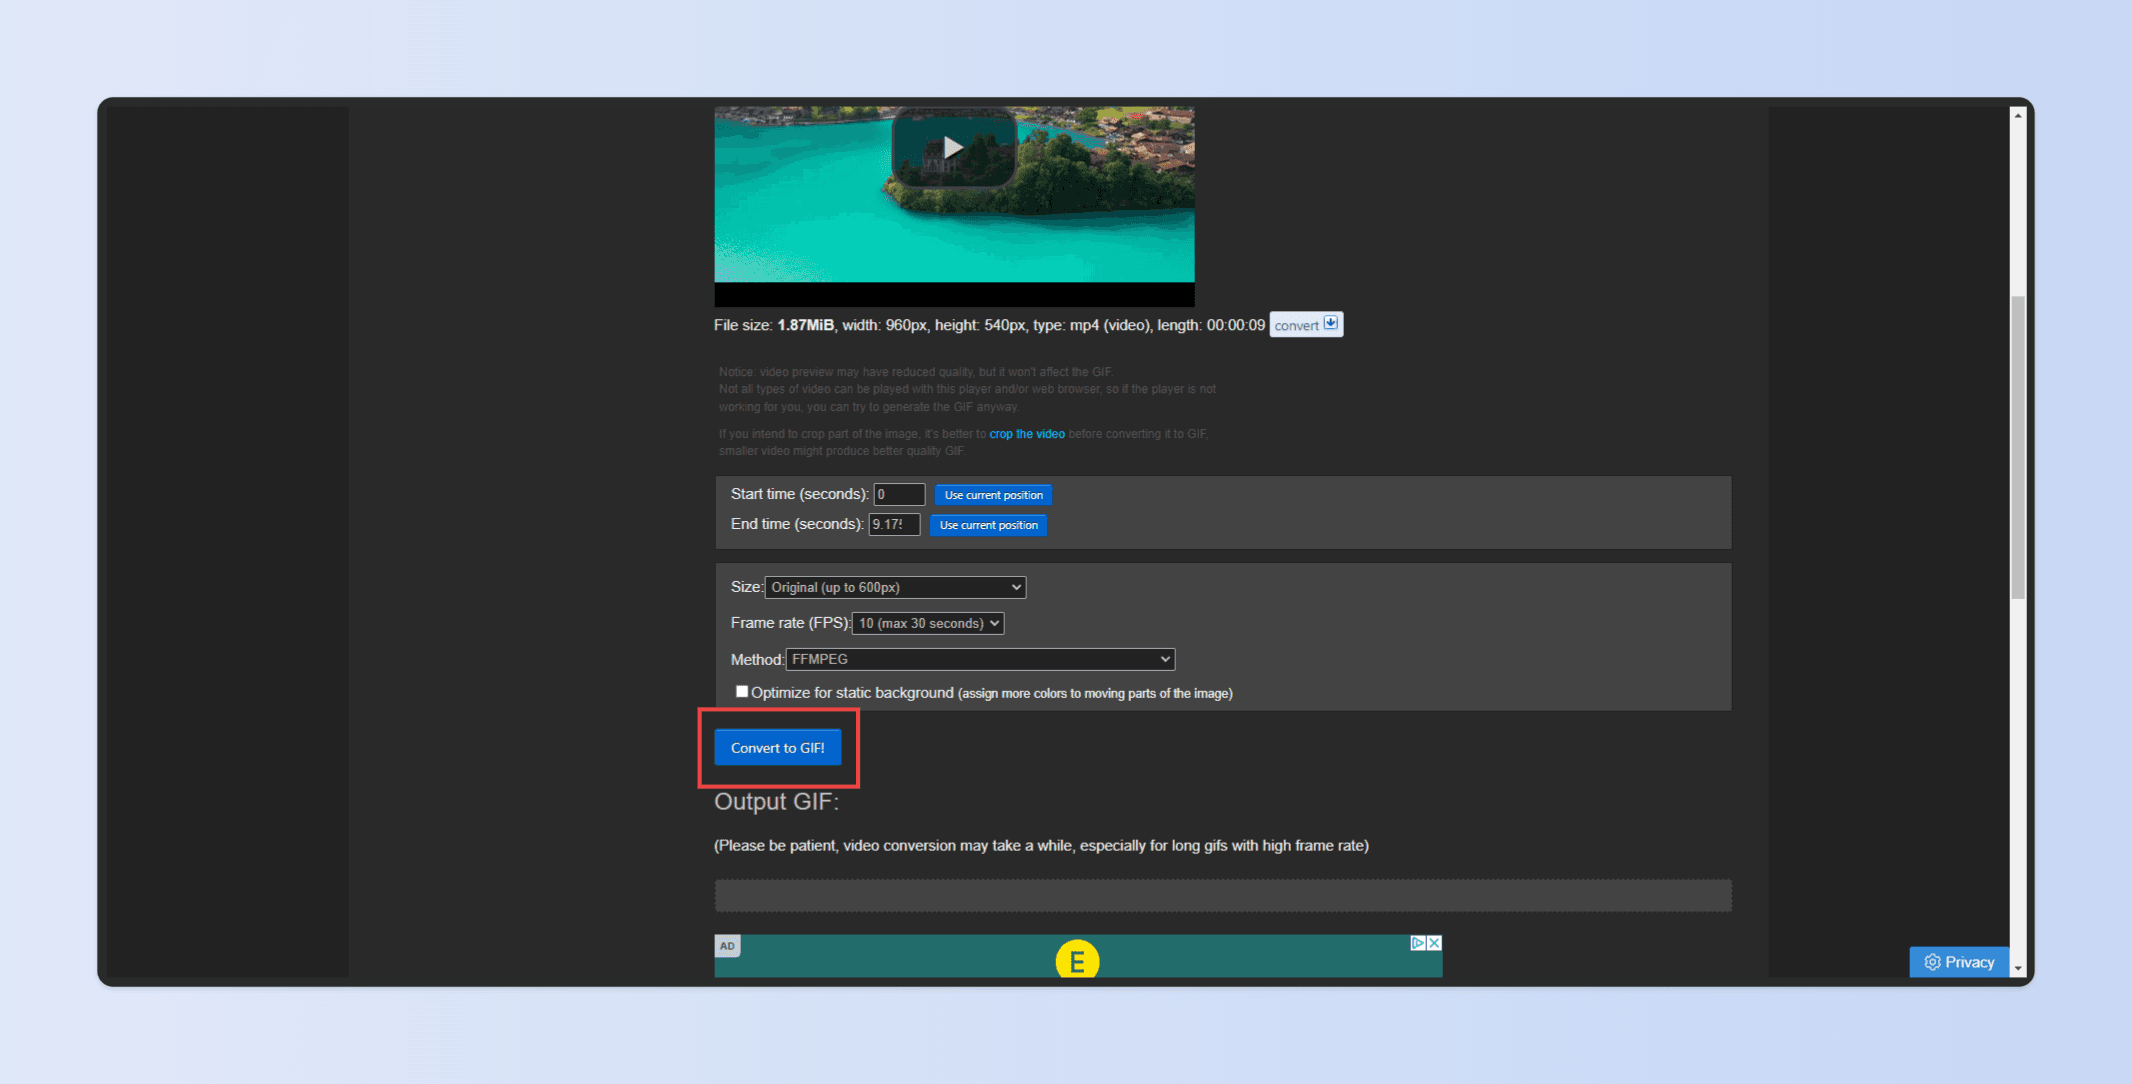
You'll find some tools here to play with in the toolbar above your video.

You can crop, trim, and cut your video footage if you need to make further tweaks. Scroll down, and you'll find more options. These include setting the GIF's frame rate, frame size, and conversion method. The default settings will be fine for most people.
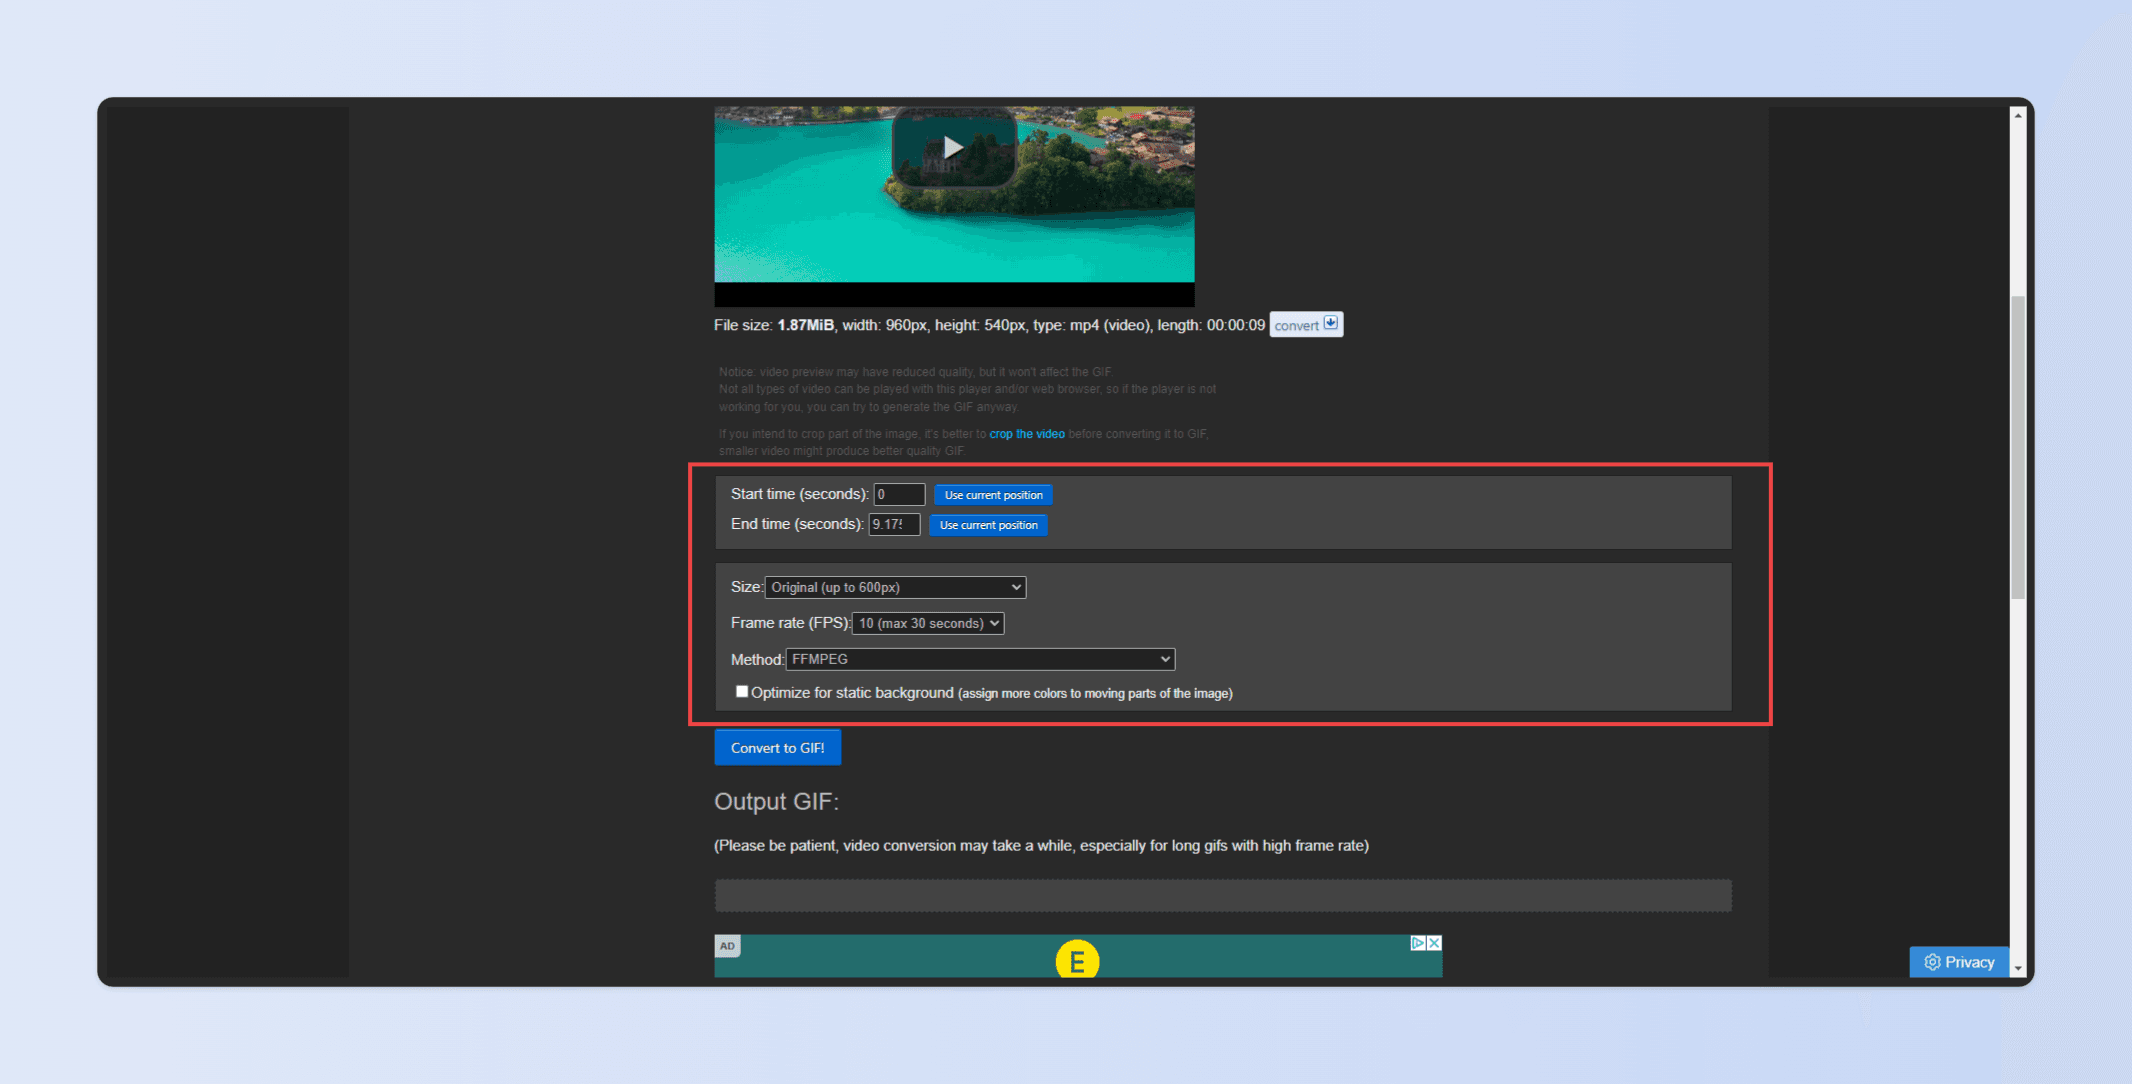
When you're happy, click the blue "Convert to GIF" button to begin converting.
Step #3 - Downloading Your GIF
Depending on the size of your video footage, the converting process can take a few minutes. The result will appear in the "Output GIF" section below.
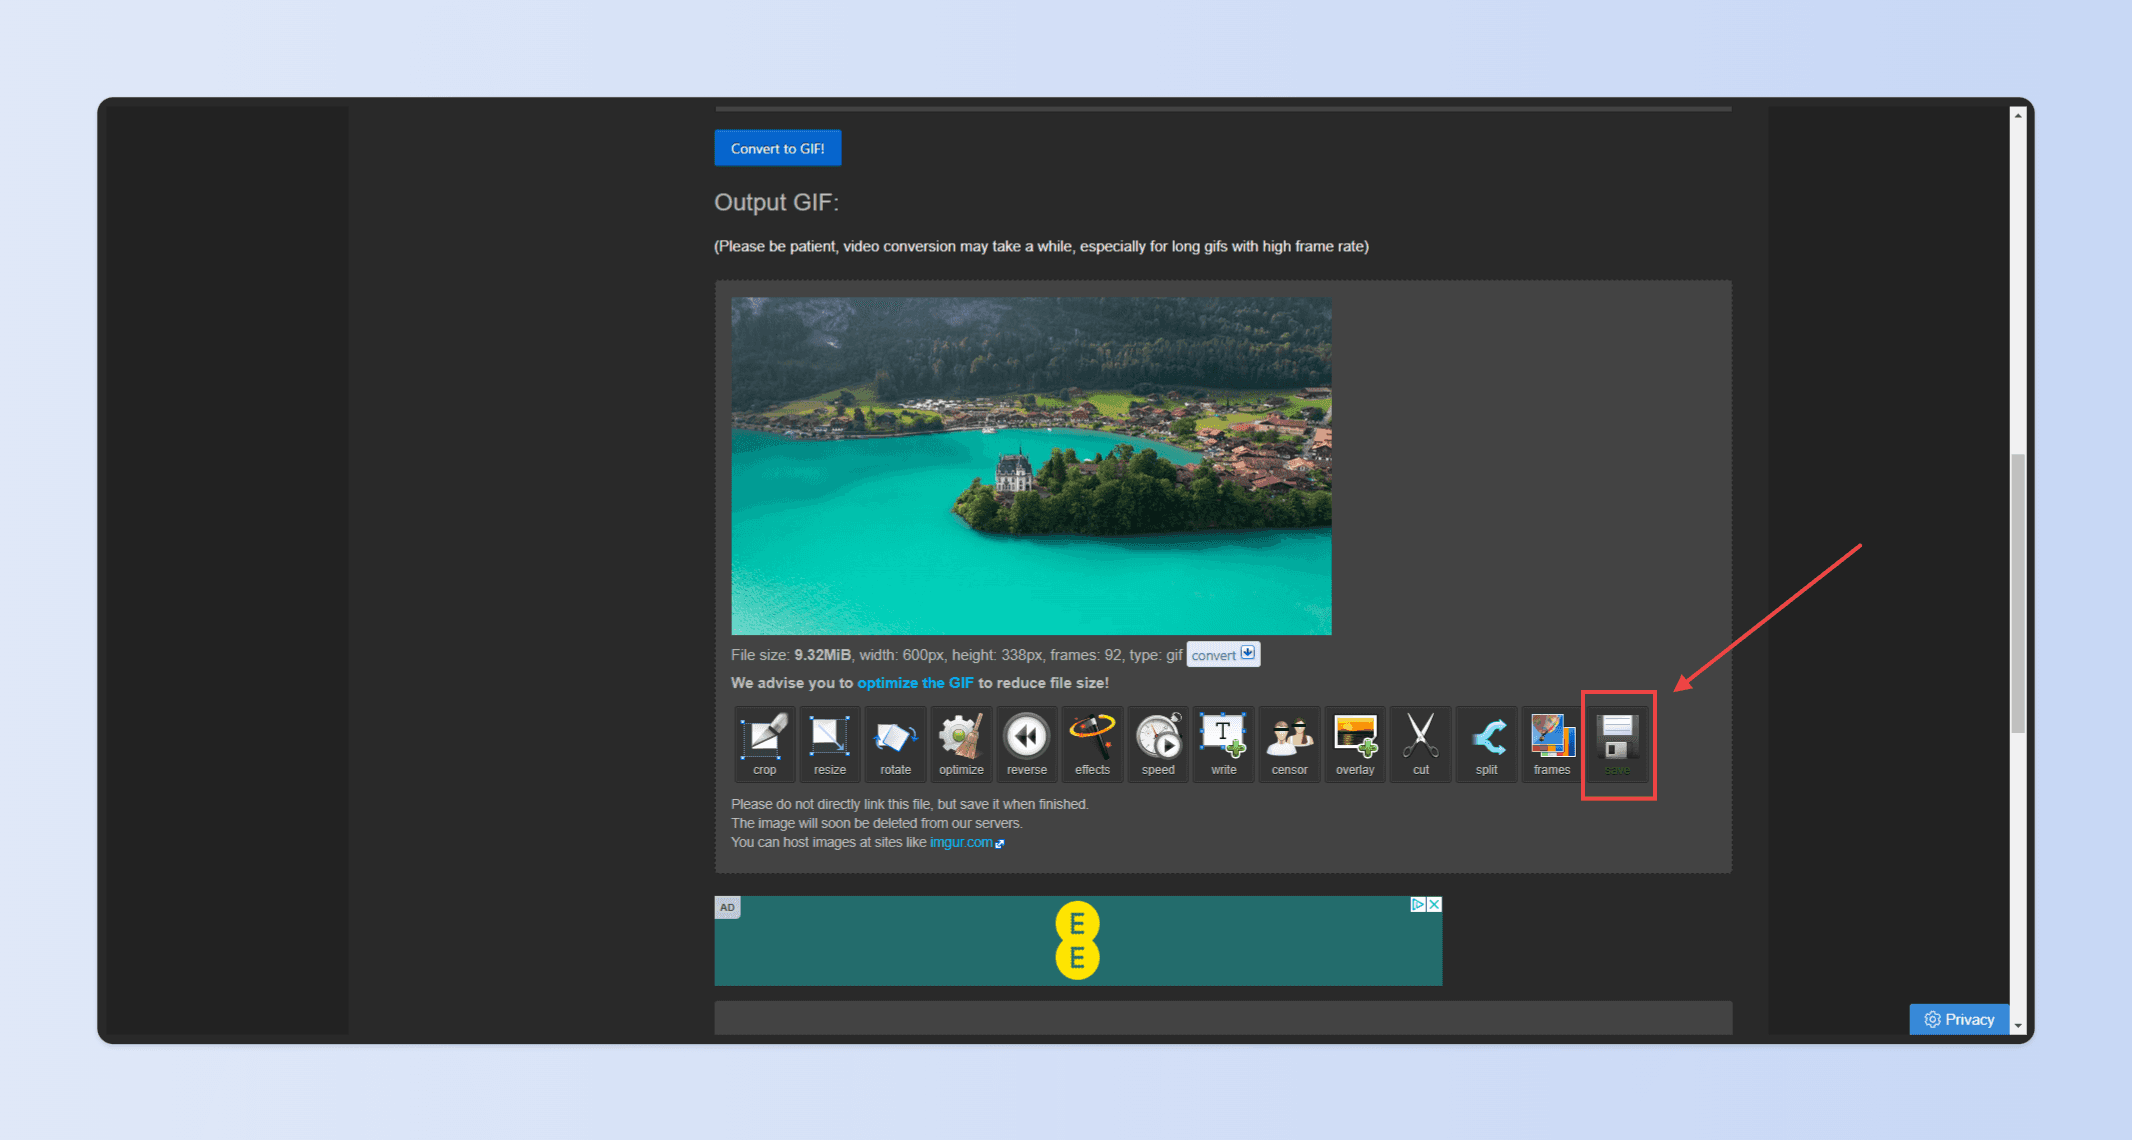
You have a few more options to tweak your GIF if you need to. When you're happy with the final version, click the "Save" button on the far right-hand side to download the GIF to your computer.
Step #4 - Share Your GIF
And there you have it. Converting your video content to a GIF format is really that easy. You can now share your GIF wherever you want. You can embed it into an email. You can share it on social media. You can put it in a blog post. Whatever you wanted to do with your GIF, you're now free to do so.
Just remember to actually download the GIF and don't share the link to EzGIF. To save server space, EzGIF doesn't host the final GIF files for long. If you don't download your file, you'll need to go through the process again.
Maximizing Your Video Quality: Record First, Convert Later
While the idea of directly recording a screen capture as a GIF might appear as a time-saving strategy, it's not always the best idea.
Of course, you want to preserve the highest possible quality and maintain your original content's integrity. Therefore, you need to first record your screen in the best quality video format around.
Video formats typically capture higher resolution and greater detail than GIFs. They offer better clarity and present your content in the most precise and crisp manner. This becomes important for screen recordings showcasing tiny yet important details on screen.
Moreover, when you have your recording in the best quality video format, it provides you with flexibility. You may have an overly complex section of the recording that requires more thorough editing before conversion.
Or you might decide to repurpose portions of the video for a different use or platform - tasks that won't be feasible once the video is converted to a GIF.
So, the mantra to follow here is Record, Retain, then Reformat (if needed).
Always record in the best quality video possible, keeping that as your raw, quality-rich content. Then, depending on your need, you can convert it into a GIF or any other format. This approach ensures you always have original, high-quality content to work with. It also opens avenues for possible future uses.
Remember, you can always downgrade the quality to a GIF, but you can't revert a GIF back to high-quality video content.
Final Thoughts
While all these methods serve the same purpose, the right method depends on your needs and resources. If you need an instant conversion with minimal fuss, online converters might be your go-to. If you need more control and have the resources, Photoshop might suit you.
And if you're a regular GIF creator who need a more full-time solution, a dedicated app might work for you. The aim is to choose a method that suits your needs and streamline the process.
Want to streamline your screen recording process?
Check out Tella. It prides itself on a user-friendly interface and ability to create ultra-clear screen recordings. In short, Tella helps you capture, narrate, and share your best work. And you can generate an animated GIF from your video in one click.


