January 8, 2024
3 Tools to Create Online Course Videos

Mike
Online courses are on the up.
The best part? You don’t have to be an educational institution to create one.
As well as schools and universities taking advantage of this boom in online courses, so are companies and individual creators.
As a business or individual selling products or services, it’s all about content. And creating online courses is just one of the tools in your video marketing arsenal.
But one thing that holds people back from creating online courses is perception. There’s an idea that creating an online course will not only break the bank but also require a ton of money and prior experience in video editing.
That’s simply not true.
There are plenty of free or affordable beginner-friendly tools at your disposal. More on that later…
But before we explore the how of online courses, let’s explore the why. Just why are online course videos so beneficial?
Oh, and if you're looking for the best site to host your courses, check out this guide!
The benefits of creating online courses
Reach a wider audience
Increasing your online visibility allows a wider audience to find your content and, therefore, your business. If you’re an educational organization, you can reach a wider audience with content that appears in diverse places.
Earn a passive income
Once you’ve uploaded a paid online video course, the money makes itself. It’s a great way to earn a passive income alongside a full-time job. Or boost your business’s profits.
And with the number of online course users set to reach 57 million by 2027, it’s looking good for the sector’s long-term financial success.
Attract new leads
7 in 10 customers will buy more from brands they trust. As well as having a killer product or service, getting your target audience to trust you is half the battle.
Online courses aren’t the reserve of educational institutions, either. Whether you’re a large corp or small blogger, you’ll benefit from an online course to boost brand awareness.
By creating an online course about a topic you know well, you establish authority on a topic. This helps people to trust your knowledge and, as an extension, your products.
And a note if you sell advising, consulting, executive business coaching, or professional service in particular. Hosting an online course can be the most powerful tool in your arsenal. It allows you to show off what you know while genuinely benefiting your audience’s lives.
And that’s so important. Do you find yourself restricted to only serving a handful of clients? With an online course, you can make your knowledge accessible and potentially reach thousands of people.
The opportunity to scale here is huge.
Save time
Suppose you work in HR and spend your days giving new employees a rundown of the company rules. Or, you might be a sales professional who spends hours a week giving in-depth webinars to help customers use your product.
Rather than give the same presentations week in week out, simplify your role and save time with an online course. That way, employees or customers can access the same info on their own watch. Plus, your time is freed up to focus on other tasks and duties.
The tools you need to make your course a success
The secret weapon to a successful online course is having the right tools. And no, that doesn’t mean spending your entire annual budget on complicated software. Nor does it mean becoming a video editor.
Here are three easy-to-use tools that support effective course creation.
#1 - Notion - to plan your course

The best courses take plenty of planning. You’ll need to consider your objective, target audience, content, and more.
Notion is a productivity software that allows you to plan in one space. You can create a project plan in which you can store other project documents, such as roadmaps and risk assessments. All team members can see the project plan and follow along while you track your team’s progress.
Start by establishing who your target audience is and what challenges they’re hoping to overcome. Look at what’s already on the market and see how you can make your offering different. This could be by making the topic more specific or tapping into a slightly different objective.
Next, choose the overall topic of your course. It should be one that you’re an expert in, and that has sufficient demand to find students. You’ll then need to choose sub-topics. Consider your target audience and what level of knowledge you already expect them to have. In general, most courses are either beginner, intermediate, or advanced.
If you see there are already plenty of beginner’s courses on the market but few intermediates, that could be your gap in the market.
It’s best to get specific when choosing an objective, too. Rather than simply saying, ‘Students should know more about X,’ make it quantifiable, e.g., students should finish as an A1 Spanish speaker.
To use Notion for your course planning, start by creating an account.
Make a new page to store your project plan. Use a project plan template or create a custom plan.
Fill in project details.
Invite your teammates to get involved.
Check out Notion here.
#2 - Tome.app - to create slides
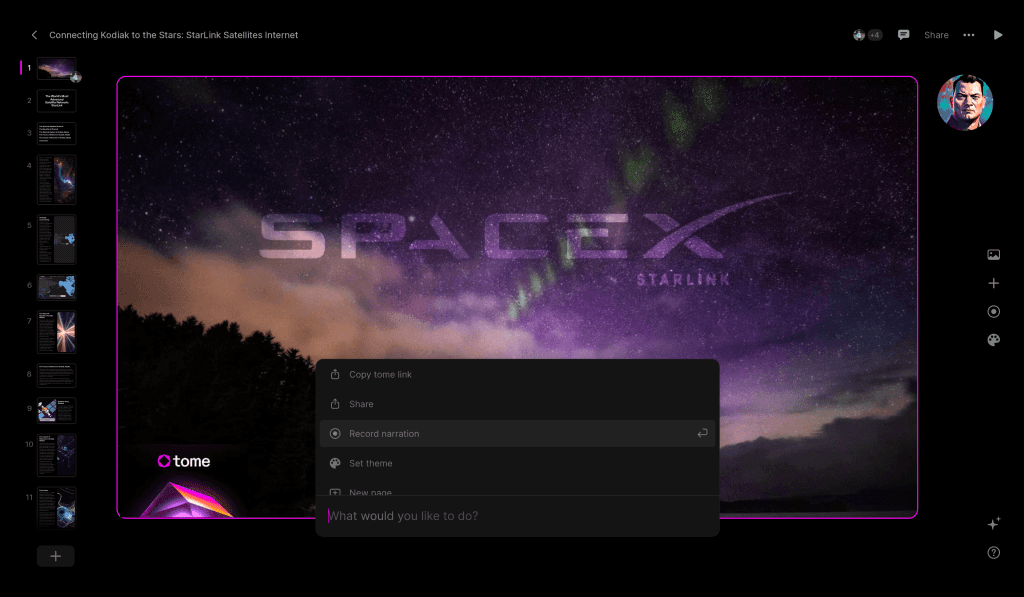
The next thing to consider is the presentation itself. Where possible, snappy visuals should be prioritized over large bodies of text. Online course users don’t expect their presentations to contain large, difficult-to-read blocks of text. Making your slides as visually appealing as possible is a must.
Tome.app is a new AI tool that’s proven to be very effective when it comes to creating presentations. Here’s how to get started.
Sign up for Tome.app. You can sign up for free in the first instance.
Make a workspace. You’ll be prompted to do this once you’ve signed up for your account.
Click ‘Create’ in the corner.
Type a simple text describing what you want to see in the presentation.
Press enter, and the AI will do all the hard work for you.
If you want to make any changes, simply click on the part you want to edit.
When designing your presentation, try not to include too many features on one slide. The more simple a slide is, the more likely the audience is to remember it.
Keep each slide consistent, too. Remember, part of the function of the online course is to develop trust with your target audience. Having a presentation that looks professional boosts your perceived legitimacy. This helps improve your relationship with potential customers.
Check out Tome.app here.
#3 - BigStageTeleprompter - to add and read your script
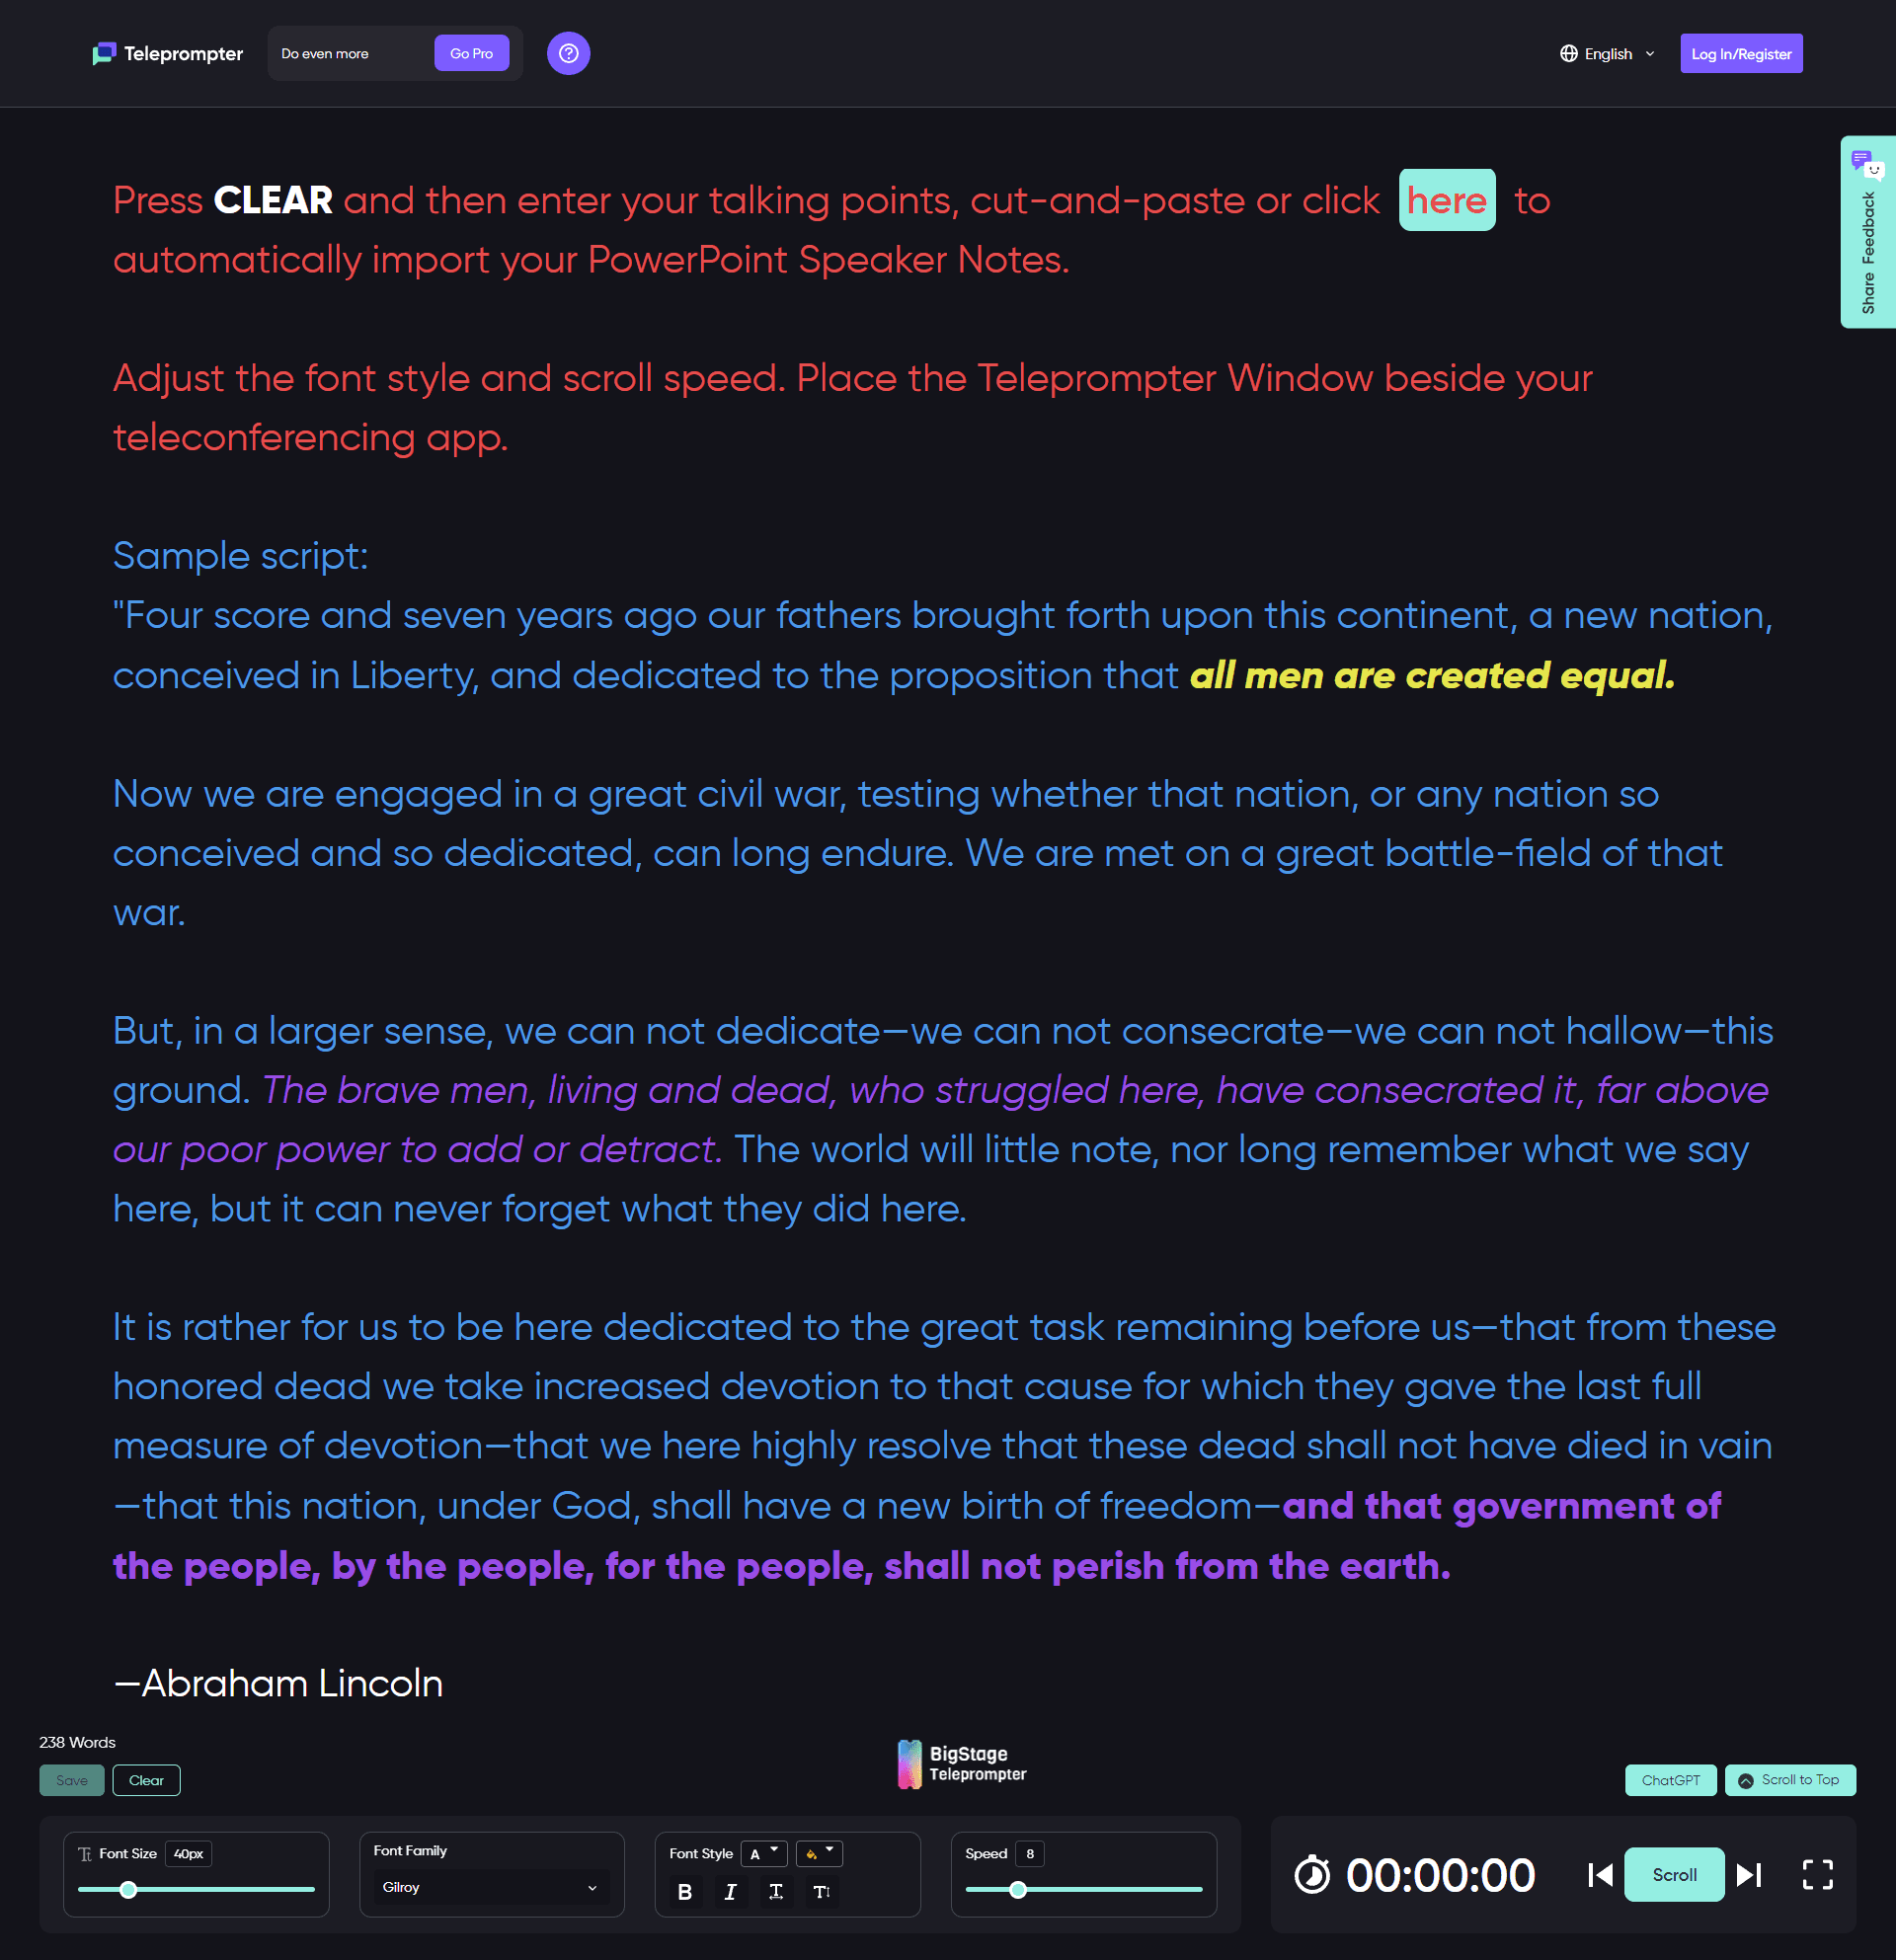
Students remember best when audio and visual come together. By uploading a voiceover, you combine the two.
BigStaleTeleprompter is a handy online tool that allows you to upload and read your script while you’re presenting. No need to memorize your lines. Simply keep the teleprompter open in a window and read from it for seamless audio.
With your video recording and editing tool, you can then add subtitles to make your online course videos more inclusive.
Check out BigStageTeleprompter here.
Bonus #4 - Tella - to record and edit your course
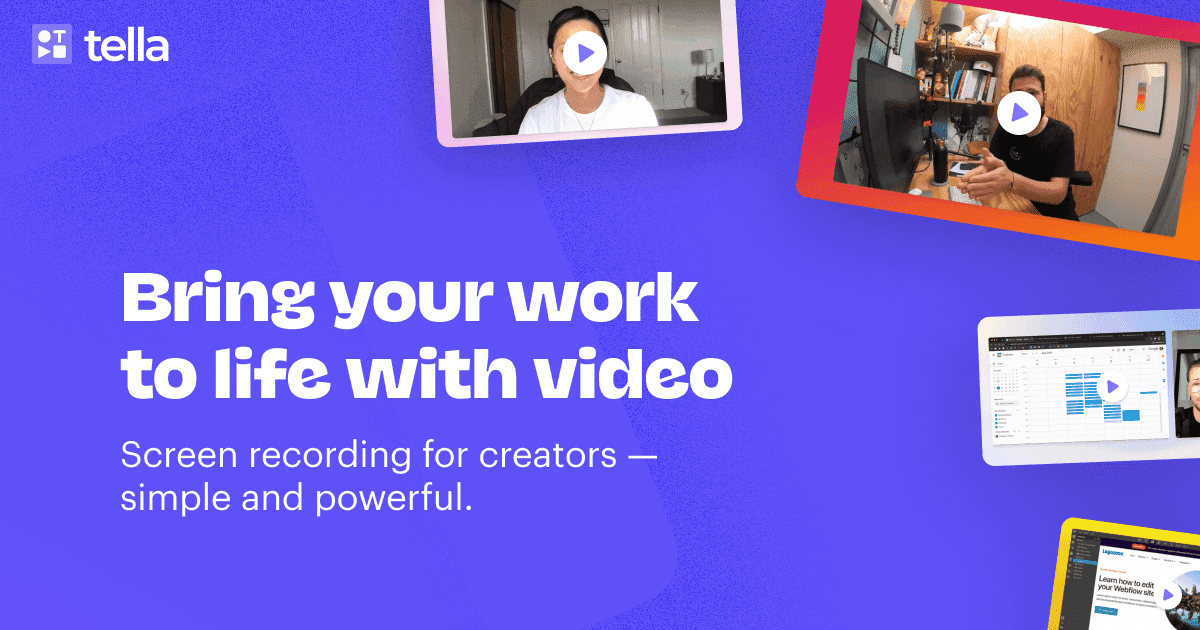
Here’s the fun part - bringing your course's components together. Once you’ve created your presentation and written your script, it’s time to marry the two. You can turn your presentation into a sleek, professional video for free.
Online video courses can be particularly effective with a personal touch. With tools like Tella, you can add a recording of yourself speaking to your online course. This not only helps viewers follow along but also builds trust between you and the audience.
Tella is a tool that combines the best features of a screen recorder and a video editor all in one. But don’t worry; you don’t need any editing experience to use it.
Start by downloading the Tella app, either for Chrome, Slack, or Mac IOS. Once you have Tella in your preferred format, use the Tella recorder to turn on your camera. Select the slides you want to present. Either import them directly or do a screen recording of your presentation. If you need help staying on track, Tella has speaker notes. Simply select them from the Preferences tab. When you’re ready, simply press ‘Start recording.’
Once you’ve recorded your clips, it’s time to customize them. You can also add more clips if necessary. Trim your clips so that they’re the right length. Once you’re happy with them, pick a custom background and video layout to make it more engaging.
You’re done! Now it’s time to download your online course videos. Once downloaded, publish them to your online course platform of choice. It’s also a good idea to start marketing your course through blogs, ads, and social media marketing.
Check out Tella here.
Oh, and don't just think you're limited to recording on a Windows device. Mac users have a ton of screen recording options too!
Read next: 10 Apps for Making Amazing Screenshots


